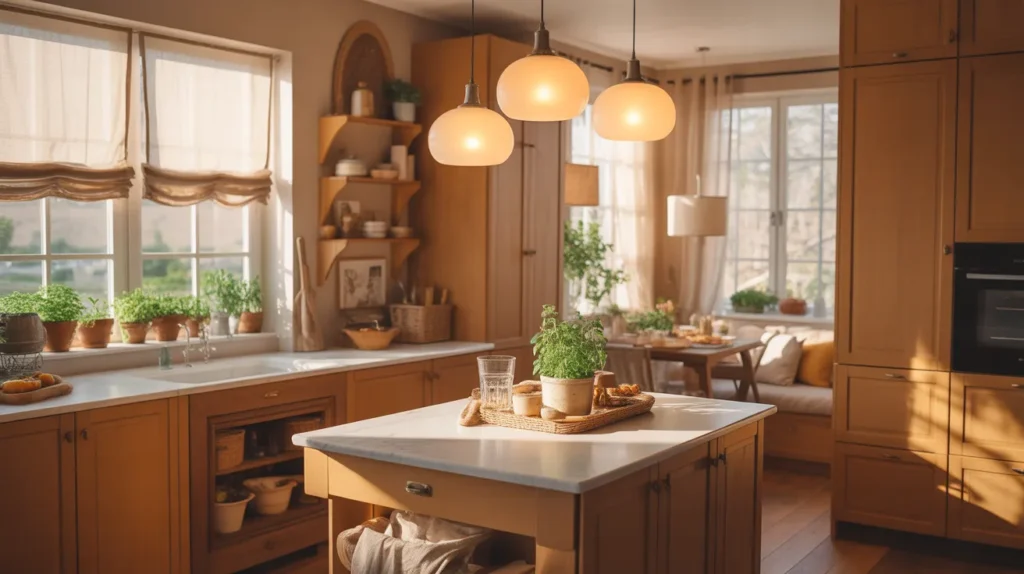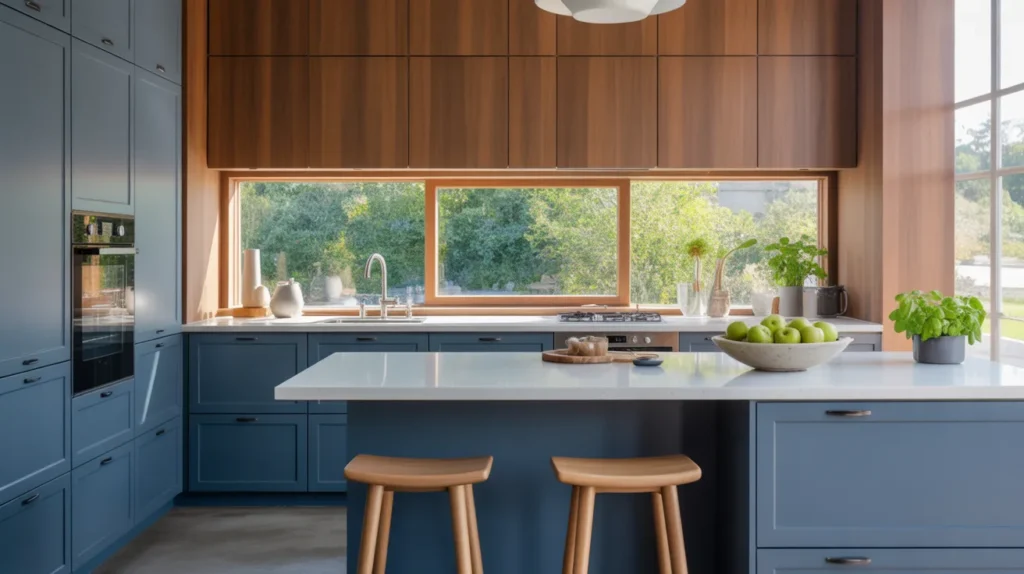
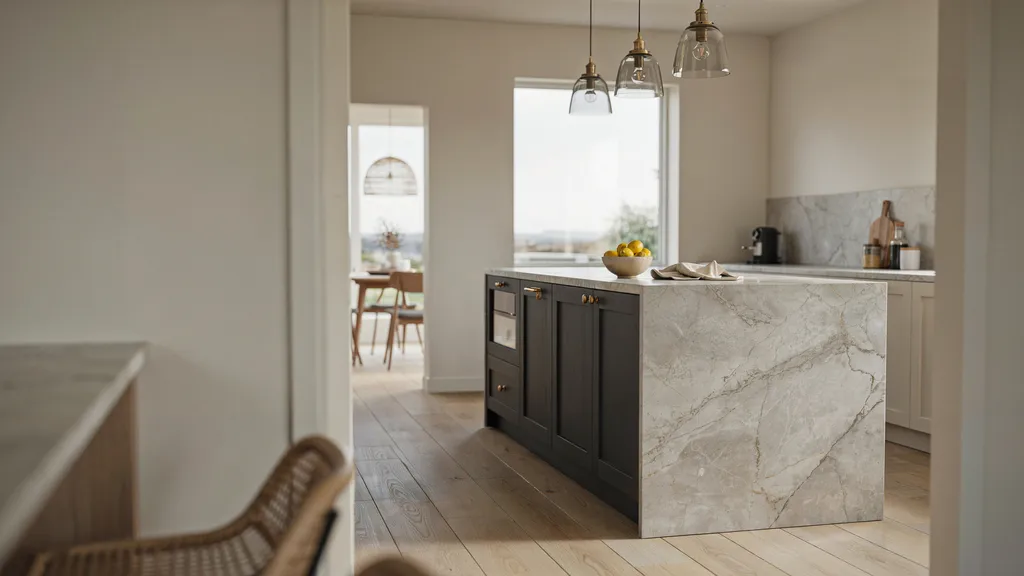
A kitchen island stops being just extra counter space the moment it takes on its own material and shape instead of matching the surrounding cabinets exactly. These 13 kitchen island ideas lean on details like honed Carrara marble, a butcher block top, and integrated slatted storage — choices that give the island its own identity rather than blending into the rest of the room.
If your island is currently just a rectangle with the same cabinet fronts as everywhere else, a few targeted changes can shift it from filler space to a genuine focal point. Think a curved end instead of a hard 90-degree corner, low-slung brass pendants overhead, or a recessed footwell that makes standing at the counter more comfortable.
What separates a kitchen island that actually gets used from one that’s just a big countertop usually comes down to how the layout supports real movement, not just square footage. A 42-inch clearance on the walkway side, or seating positioned so it doesn’t block the path to the stove, tends to matter more than any single design detail on this list.
1. A Waterfall-Edge Quartzite Countertop
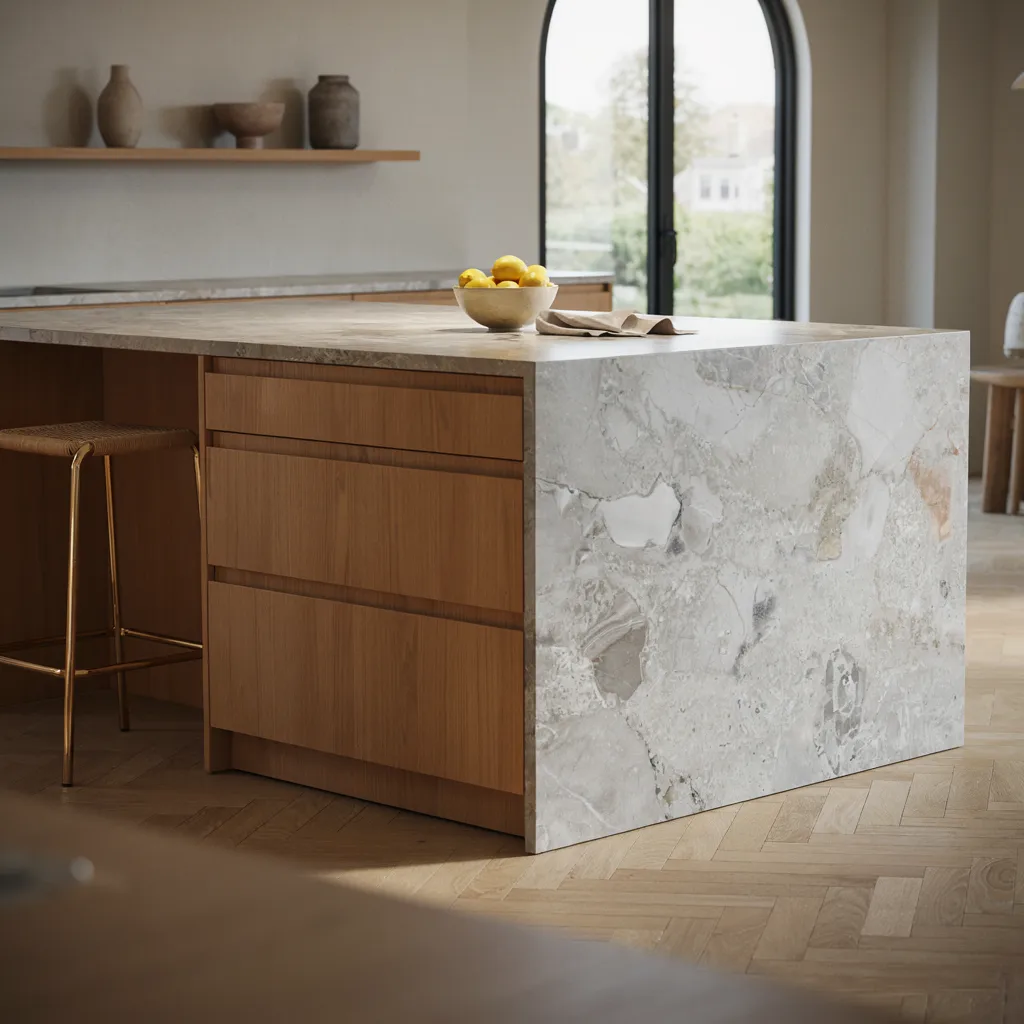
A waterfall edge, where the stone continues straight down the side panel instead of stopping at the counter’s edge, gives an island a sculptural, furniture-like presence that a standard flat overhang doesn’t offer. It also hides the raw cabinet side that’s usually left exposed at the end of the island.
Order the panel as a mitered join rather than a butt join so the seam stays nearly invisible. Expect to pay an extra $800 to $1,500 on top of standard counter pricing for the waterfall fabrication.
2. A Fluted Wood Island Base
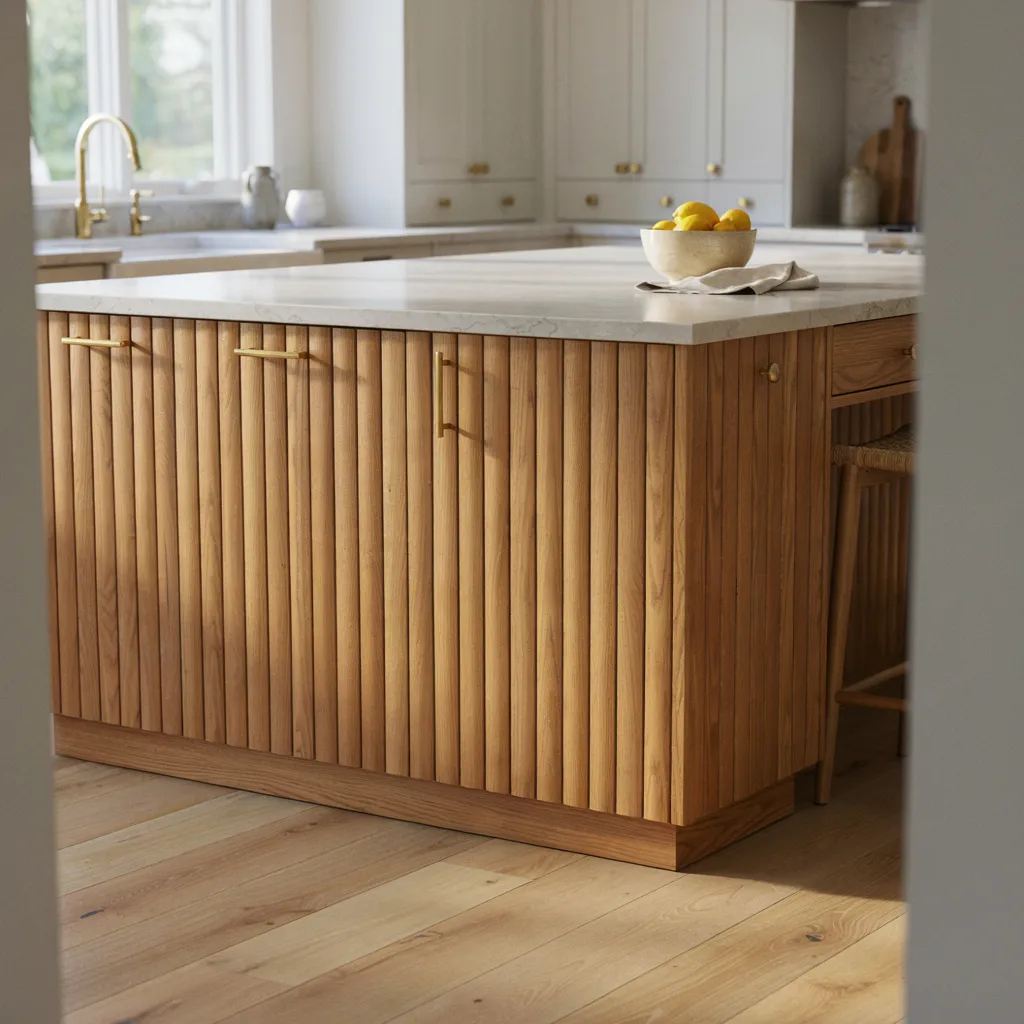
Wrapping the base of the island in fluted wood paneling adds a textured, architectural detail that most kitchens reserve for accent walls rather than furniture. The vertical grooves also catch light differently depending on the time of day, which keeps the island from reading as flat.
Order fluted panels with a groove depth around 1/2 inch for a defined, tactile texture that’s still easy to keep clean. A fluted wood base wrap for a standard island runs $600 to $1,000 in materials.
3. A Curved End Instead of a Hard Corner
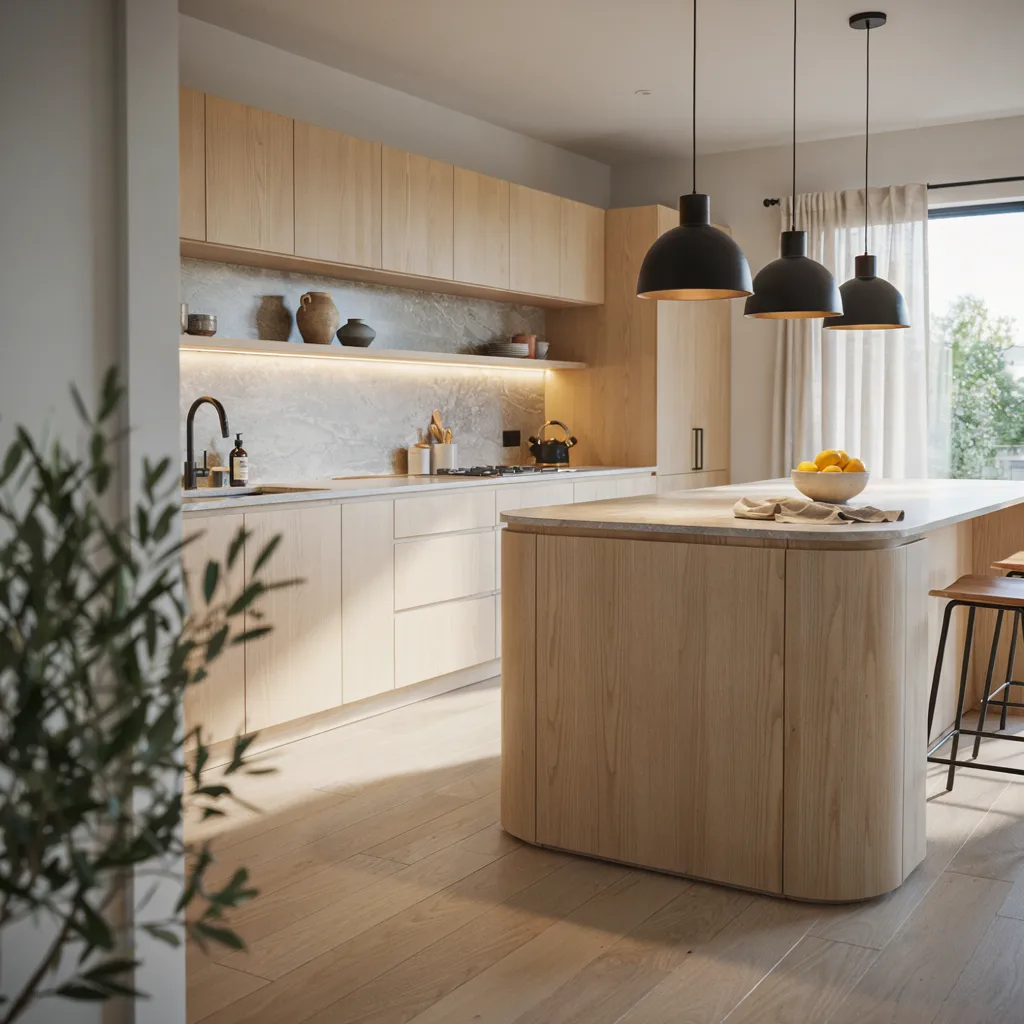
Softening one end of the island into a curve instead of a hard right angle makes the piece feel less like a boxy cabinet and more like a designed centerpiece. It also solves a practical problem in tight kitchens, since a rounded corner is less likely to catch a hip while walking past.
A curved end typically adds $500 to $900 to the total cabinetry cost, depending on the radius and whether the countertop material can bend to match.
4. Mixed-Height Seating
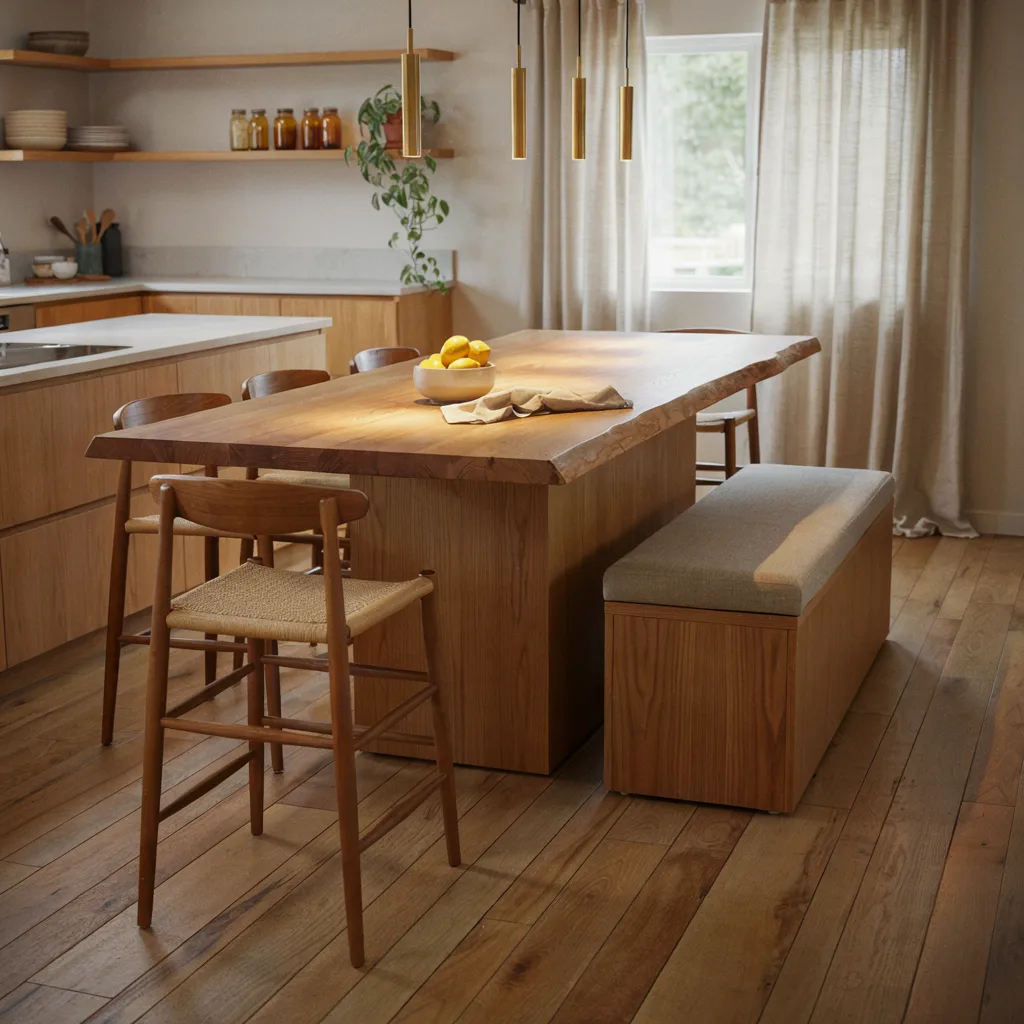
Pairing standard counter-height stools with a lower bench seat on the opposite side breaks up the visual monotony of a straight row of identical chairs. It also makes the island more functional for households where kids and adults are sharing the same seating area at different times.
Set counter stools at 24 inches from the floor to seat height, and drop the bench side to 18 inches for a more relaxed, family-friendly option. A built-in bench addition runs $300 to $600.
5. A Contrasting Paint Color on the Base
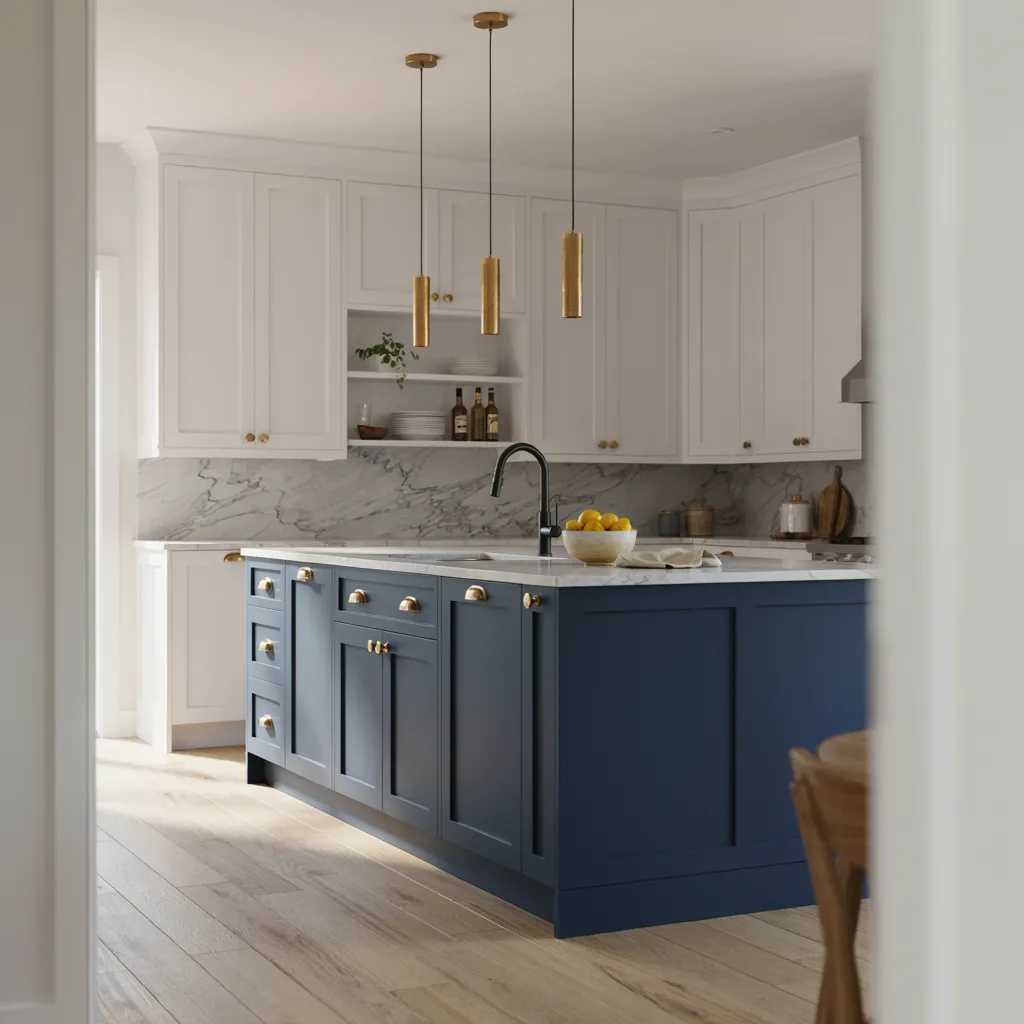
Painting the island a different color from the surrounding cabinets is one of the simplest ways to make it read as a genuine focal point rather than just more counter space. Deep navy, charcoal, or forest green against a lighter perimeter creates contrast without requiring any structural changes.
Use a cabinet-grade enamel in a matte or eggshell finish, which resists fingerprints better than high gloss. A full island repaint typically costs $200 to $400 in materials.
6. Open Shelving on One End
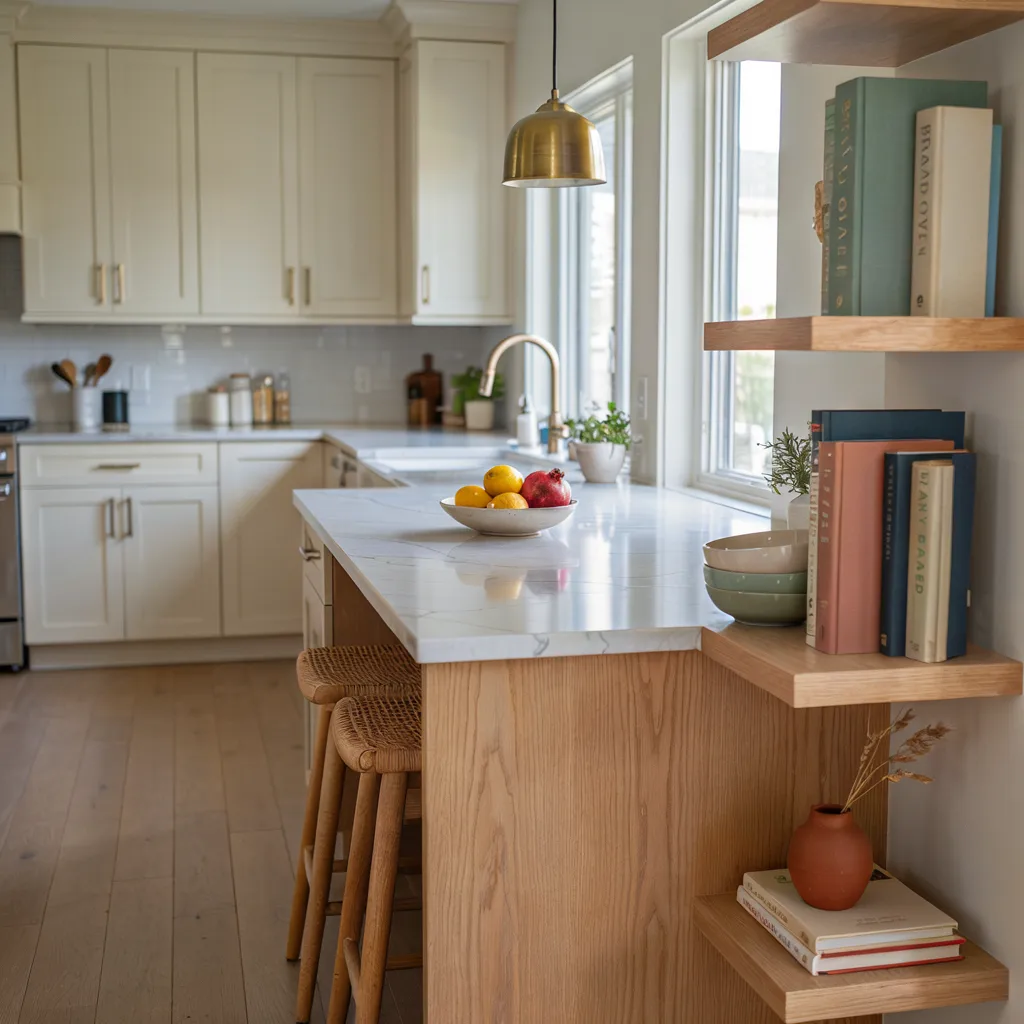
Adding open shelving to one end of the island instead of matching cabinet doors gives you a spot to display cookbooks, bowls, or everyday dishware without digging through a closed cabinet. It also breaks up a long run of uniform cabinetry with a bit of visual variety.
Space shelves 10 to 12 inches apart to fit stacked plates or standard cookbooks comfortably. A built-in open shelf addition runs $150 to $300.
7. A Butcher Block Prep Section
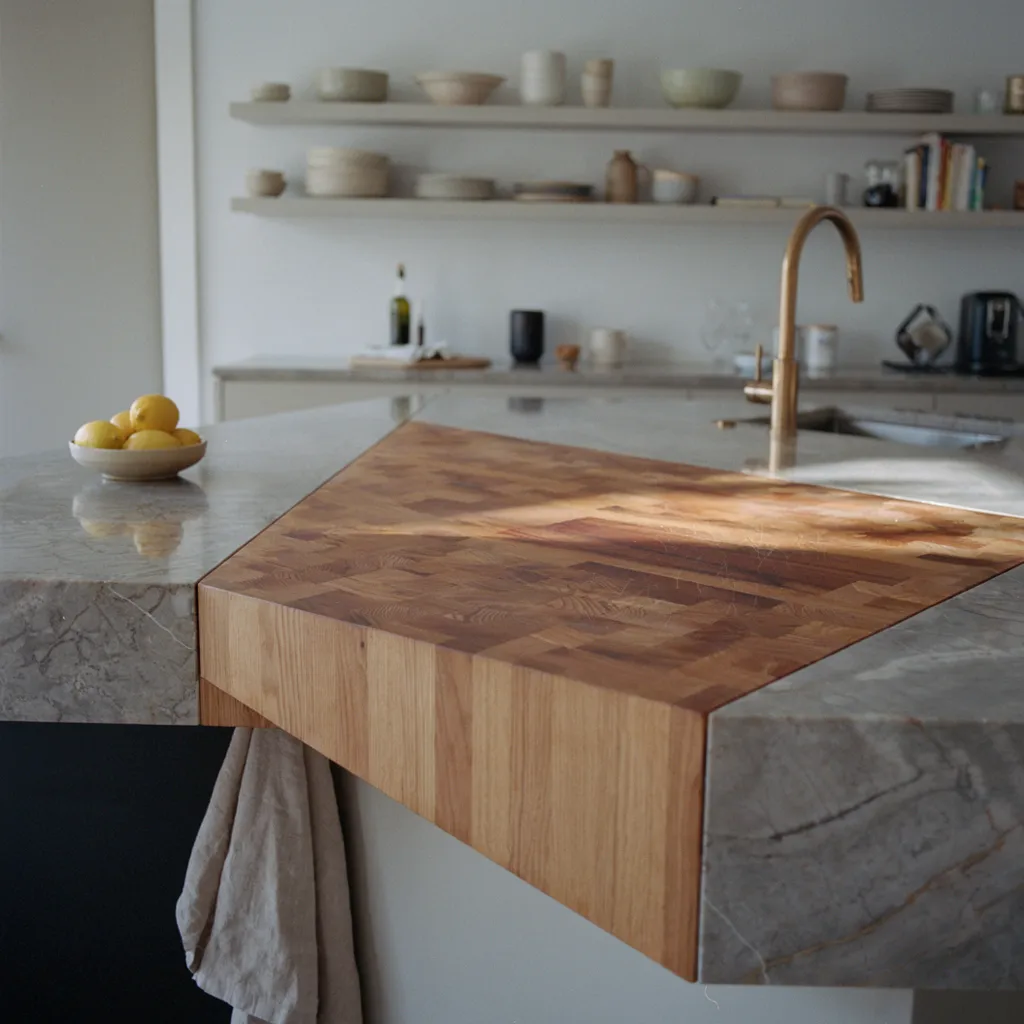
Inserting a section of butcher block alongside the main stone countertop gives you a dedicated cutting surface that won’t dull your knives the way stone does. It also adds warmth to an island that would otherwise be entirely hard, cool surfaces.
Size the butcher block inset at 18 to 24 inches wide, and oil it monthly with food-safe mineral oil to prevent drying and cracking. A butcher block insert this size runs $200 to $400.
8. Low-Slung Brass Pendant Lighting
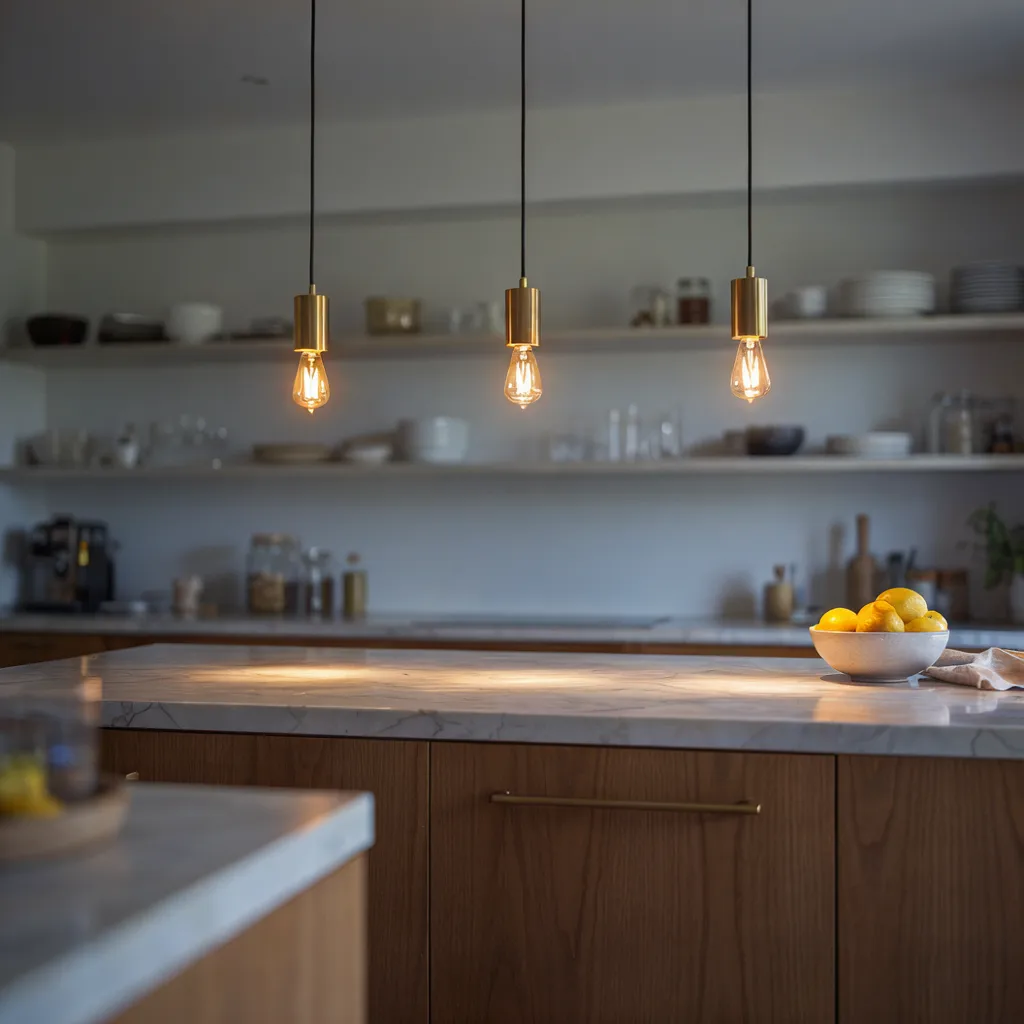
Hanging pendants lower than the standard height gives an island a more intimate, defined lighting zone instead of relying on general overhead lighting to cover the whole space. Brass in particular warms up an island built around white or grey stone surfaces.
Hang the bottom of each pendant 30 to 34 inches above the counter surface. A set of three brass pendants typically runs $250 to $450 combined.
9. A Recessed Footwell
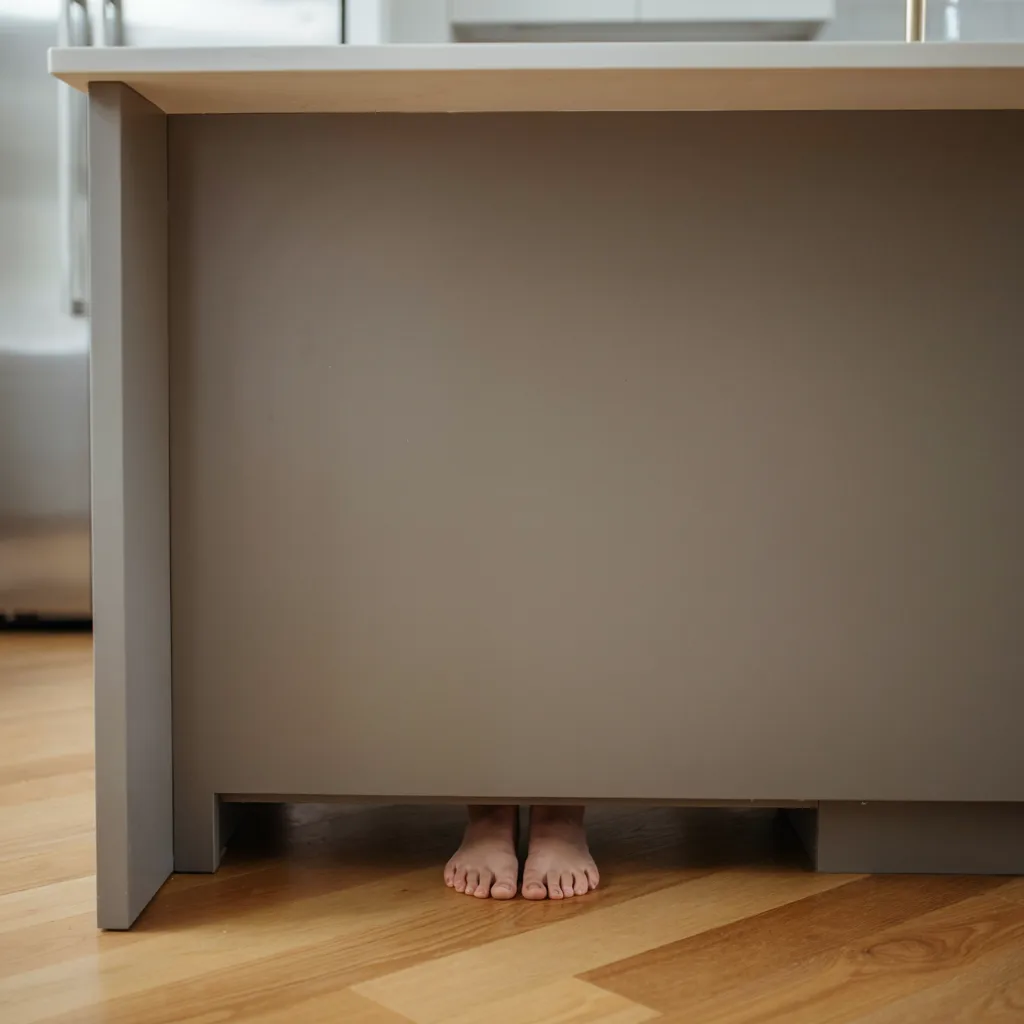
A deeper recessed footwell along the base of the island lets you stand closer to the counter without your feet hitting the cabinet front, which makes standing there for extended prep work noticeably more comfortable. It’s a detail most people notice only when it’s missing.
Extend the standard 3-inch toe-kick to 4.5 inches deep for a more forgiving stance. This adjustment typically adds $50 to $100 to the cabinetry cost.
10. Hidden Pop-Up Electrical Outlets
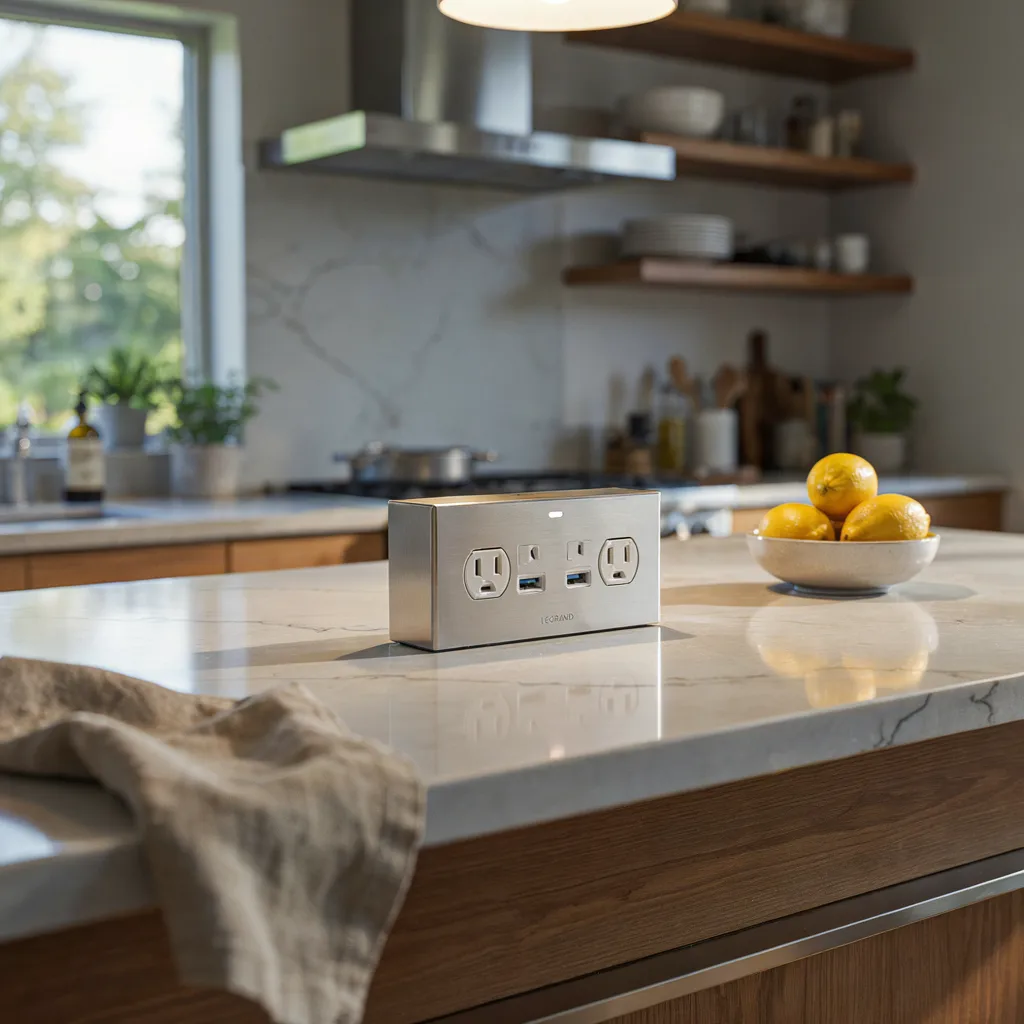
A pop-up outlet installed flush into the countertop keeps the surface clear when it’s not in use, unlike a fixed outlet strip mounted to the cabinet side that’s always visible. Lifting it up when you need to plug in a mixer or blender takes one motion.
Pop-up outlet units with two plugs and a USB port run $60 to $120, plus standard electrician installation costs.
11. Integrated Slatted Storage
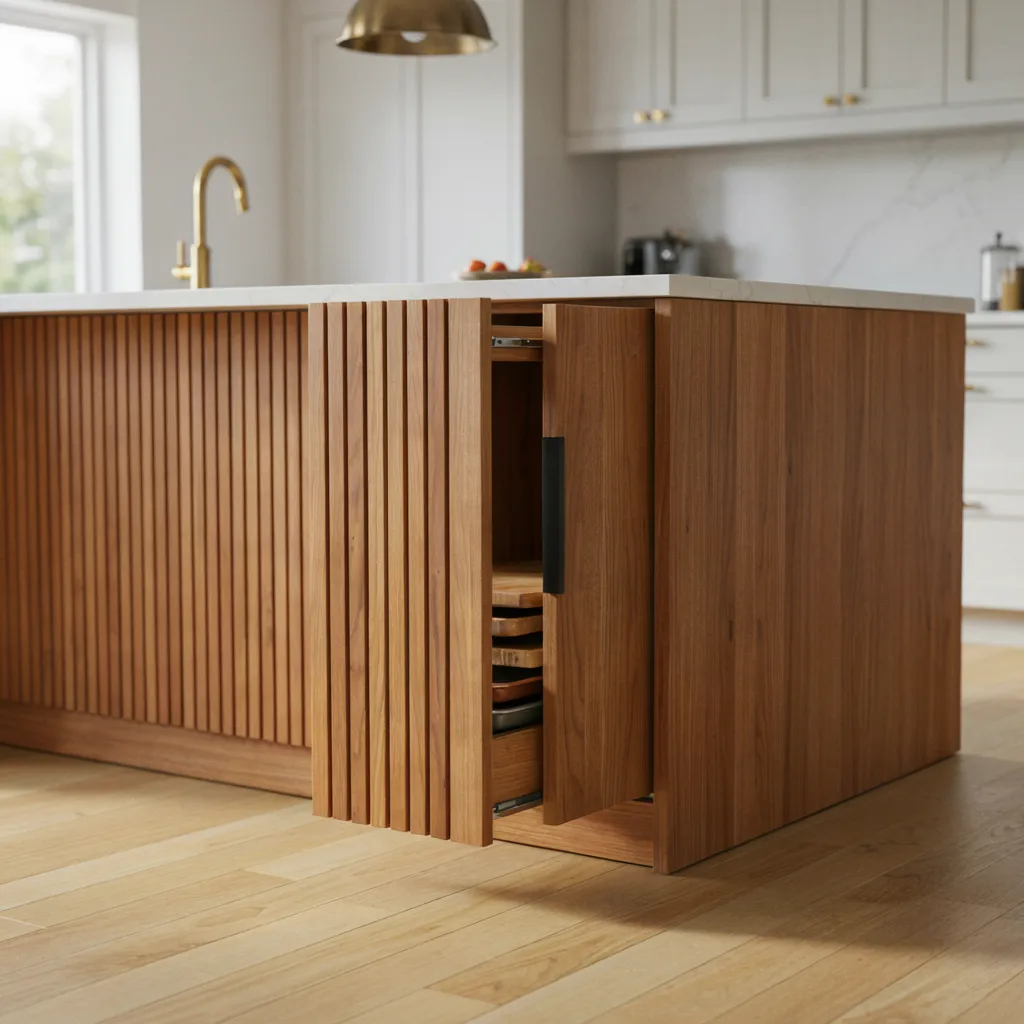
Building slim vertical storage into the end of the island, hidden behind a slatted wood panel, captures space that would otherwise go unused for flat items like trays, cutting boards, or baking sheets. The slats also add a textural detail that matches a fluted or paneled cabinet style elsewhere in the kitchen.
Size the slot at 3 to 4 inches wide to fit standard trays without wasted space. A slatted storage insert runs $150 to $280. For more storage tricks like this, check our 12 Clever Kitchen Storage Ideas for Small Spaces guide.
12. A Prep Sink Built Into the Island
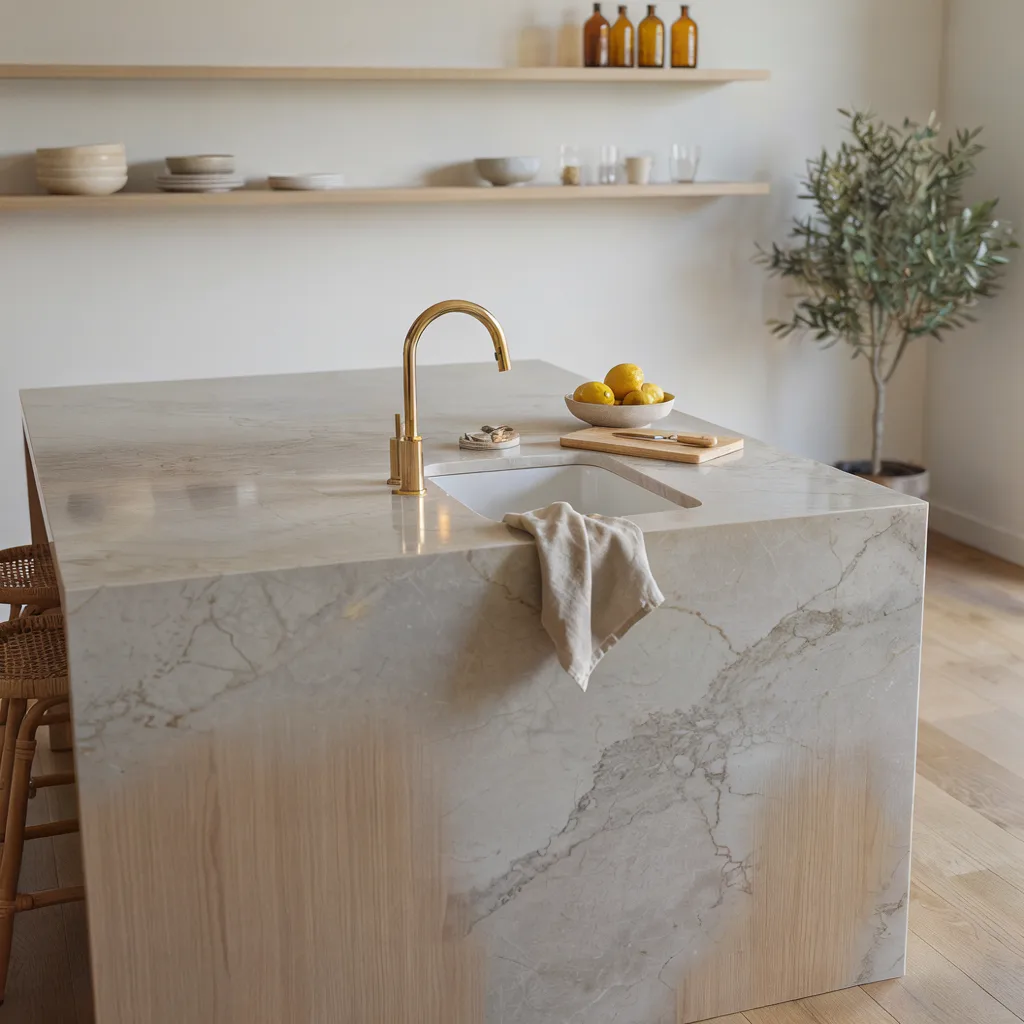
Adding a smaller secondary sink to the island keeps food prep and cleanup separate from the main sink, which matters most during larger meals when two people are working in the kitchen at once. It also cuts down on the walking distance between chopping and rinsing.
A compact 15-inch prep sink with a matching faucet runs $400 to $700 installed, not including additional plumbing rough-in if the line isn’t already nearby.
13. Navy Cabinetry for the Island Base
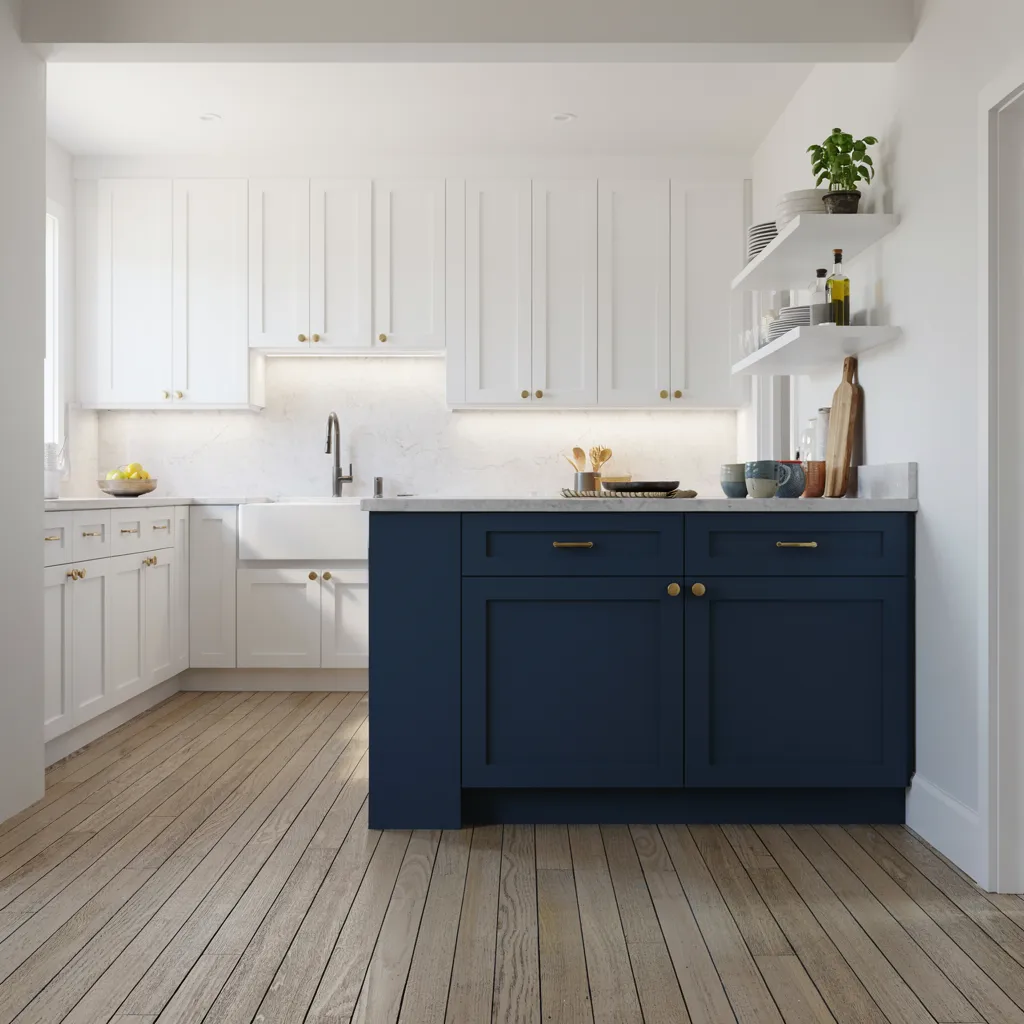
Choosing navy specifically, rather than a more common charcoal or black, gives the island a slightly softer, less stark contrast against white perimeter cabinets while still reading as a clear color statement. It also pairs particularly well with brass or unlacquered hardware.
Use a cabinet-grade enamel in navy with a satin finish for durability against daily bumps. A full navy repaint for a standard island runs $200 to $400.
Final Thoughts:
None of these thirteen ideas require rebuilding the kitchen from scratch to make a real difference in how the island looks and functions. Start with whichever detail solves your most obvious problem, whether that’s a lack of prep space, seating that never gets used, or an island that blends invisibly into the rest of the room. A single strong material choice, like a waterfall quartzite edge or a fluted wood base, tends to carry more visual weight than several smaller updates layered on top of each other.
Keep practical details in mind too, since an island gets more daily use than almost any other surface in the kitchen. Measure carefully before ordering stone, cabinetry, or lighting, since proportion is what usually separates an island that feels custom from one that feels mismatched. A kitchen island built around a few genuinely useful features can become the most functional spot in the entire room.
Save your favorite combinations to our Pinterest boards before you shop so you can compare finishes side by side.
Frequently Asked Questions:
What’s the most impactful upgrade for a kitchen island on a limited budget?
Painting the island a contrasting color from the surrounding cabinets is one of the lowest-cost updates, typically under $400, that makes it read as a genuine focal point.
How much clearance should I leave around a kitchen island?
Leave at least 42 inches of walkway space on the side used for foot traffic, and closer to 36 inches is the minimum if the island doesn’t have seating on that side.
Is butcher block a practical material for daily use?
Yes, as long as it’s oiled monthly with food-safe mineral oil to prevent drying and cracking, though it should be reserved for a cutting zone rather than the entire countertop.
Do pop-up electrical outlets require special installation?
They require a standard electrician to wire the outlet box beneath the counter, but the pop-up mechanism itself installs into a routed hole in the countertop without major structural changes.
What height should pendant lights hang above an island?
Hang the bottom of each pendant 30 to 34 inches above the counter surface for comfortable clearance while still providing focused task lighting.