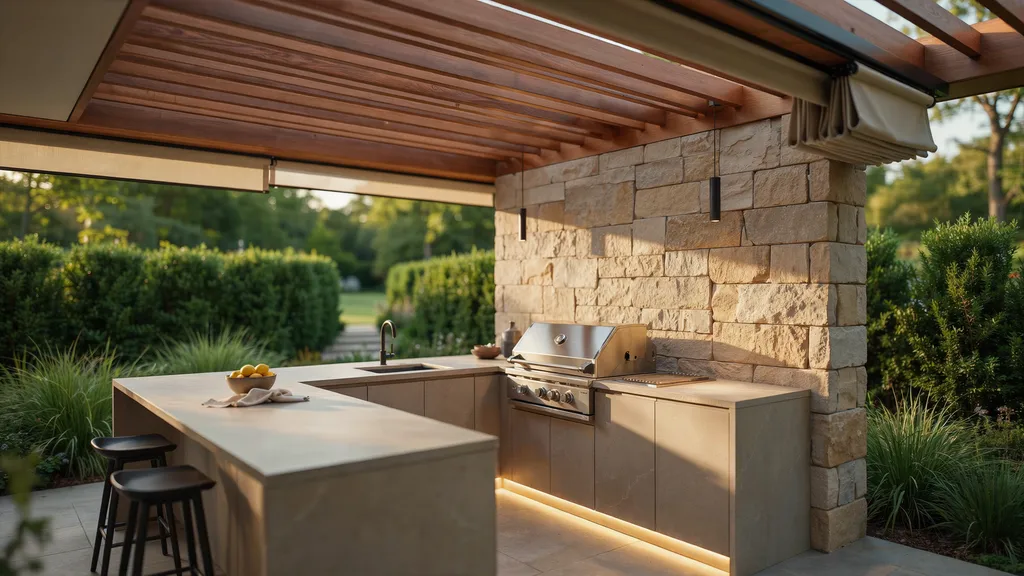
Most outdoor kitchens look like a grill bolted to a concrete block — and that is exactly what these 12 outdoor kitchen ideas that feel luxurious are designed to move past. The one material detail making the biggest difference right now is honed porcelain countertop slabs in warm greige, which weather every season without sealing and look more expensive than natural stone at half the cost.
These luxury outdoor kitchen ideas are not about adding more appliances — they are about choosing the right materials and layout from the start. A built-in grill flush-mounted into a concrete surround, a dedicated prep counter at 36 inches, and low-profile under-counter task lighting together define the space as a real kitchen rather than a backyard afterthought.
What separates outdoor kitchen designs that actually feel luxurious from ones that look temporary is one underrated structural decision — a continuous countertop wrapping at least two sides of the cooking area, anchored by a permanent feature like a floor-to-ceiling brick pizza oven or an extended concrete breakfast bar. The ideas ahead cover exact materials, finish combinations, and layout dimensions so your outdoor kitchen reads as a permanent part of the house — not a summer purchase sitting on a patio.
1. Flush-Mount a Stainless Steel Grill Into a Concrete Surround
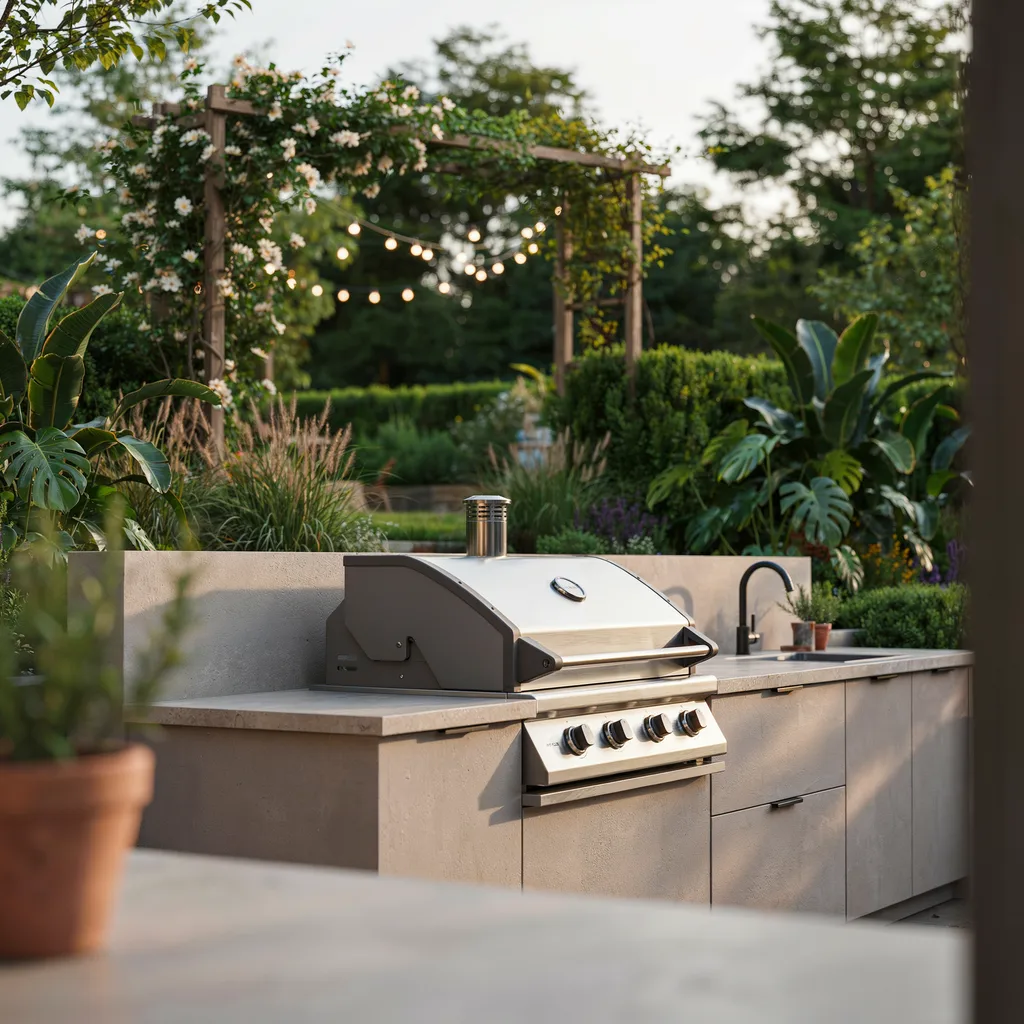
A flush-mounted stainless steel grill built directly into a concrete or stucco surround is the single structural decision that separates an outdoor kitchen that looks permanent from one that looks like equipment placed outside temporarily. The flush installation eliminates the visible gap between appliance and counter that freestanding grills always leave, and the result reads as a built-in unit regardless of the grill brand or price point. Look for a drop-in installation model with a minimum 36-inch cooking width — the price difference between a drop-in and freestanding model is typically under $200 but the visual result is entirely different.
Set the countertop at exactly 36 inches to match standard indoor kitchen ergonomics, which makes extended prep sessions far more comfortable than the 34-inch height most outdoor cart grills default to. Pair the concrete surround with a matte stainless steel backsplash panel directly behind the grill to protect the structure from grease splatter while keeping the finish consistent across the entire cooking zone. Honed porcelain in warm greige is the countertop specification that holds up best in direct sun and rain without annual sealing — unlike natural granite, which needs resealing every 12 months outdoors.
2. Install Marine-Grade 316 Stainless Steel Storage Drawers
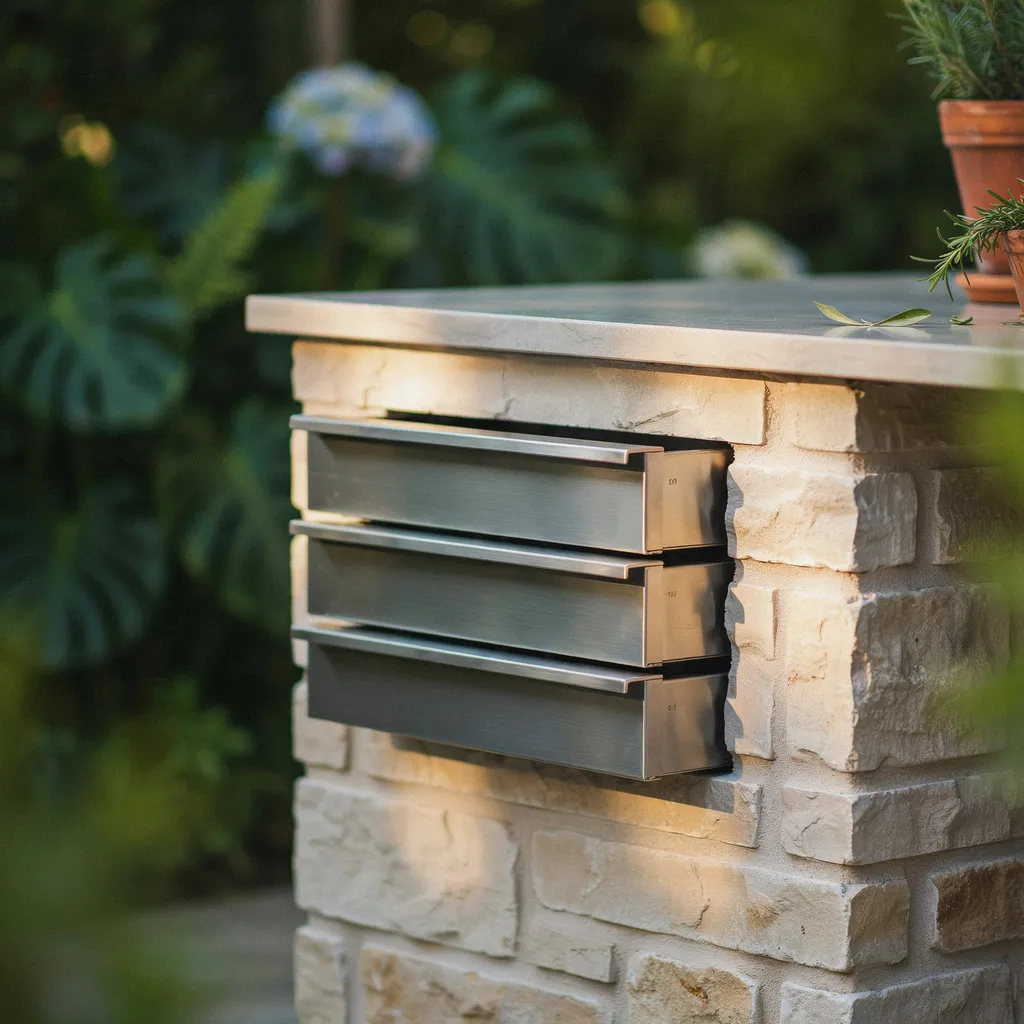
Standard outdoor kitchen islands fail visually because they rely on open access doors that expose propane tanks and loose grilling tools — flush-mounted marine-grade 316 stainless steel drawers solve both the functional and aesthetic problem simultaneously. The difference between 304 and 316 stainless steel outdoors is significant: 316 contains molybdenum, which aggressively resists salt-air pitting and rust discoloration near swimming pools or coastal properties where standard steel begins corroding within two to three seasons. A three-drawer weather-stripped cabinet unit in this specification retails between $750 and $1,100 and keeps linens, tools, and serving pieces completely dry through heavy seasonal rain.
Mount the drawer tracks with a slight 1-degree forward incline so drawers close automatically under their own weight if left unlatched during outdoor entertaining — a small installation detail that makes the kitchen behave like a finished indoor product rather than outdoor equipment. The clean horizontal lines of brushed steel drawer faces contrast precisely against rough limestone or stucco textures, establishing a material tension that reads as deliberately designed rather than accidentally combined. Specify drawer pulls in matte black rather than polished chrome so the hardware connects visually to the fixture finish used throughout the rest of the kitchen.
3. Wrap Two Sides With a Continuous Porcelain Countertop
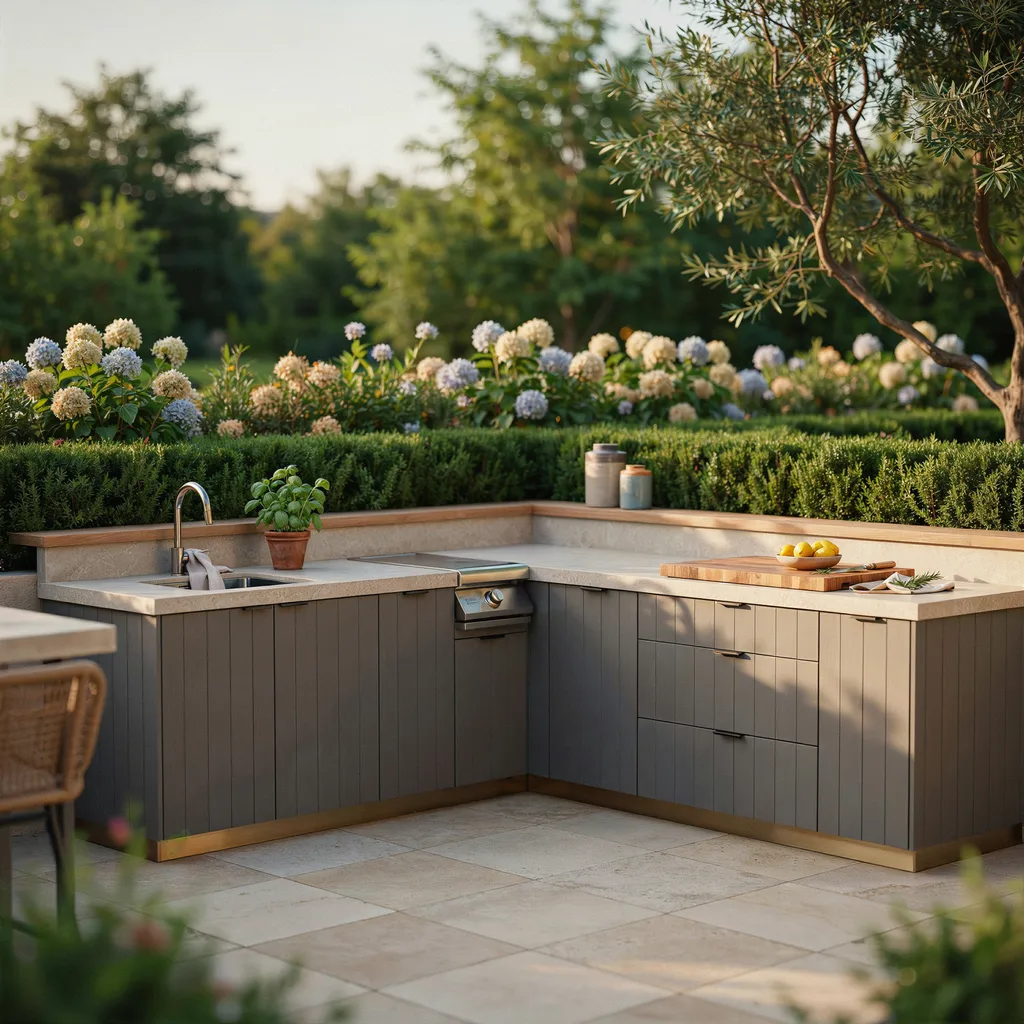
A continuous countertop wrapping at least two sides of the cooking area is the layout decision that makes an outdoor kitchen function as a real culinary workspace rather than a grill with a side shelf attached. The L-shape configuration creates a proper work triangle between the grill, prep station, and sink — the same spatial logic that makes indoor kitchens functional during actual cooking rather than just entertaining. Plan for a minimum of 24 inches of clear prep surface on each side of the grill before any secondary appliance is placed, since anything narrower creates a genuinely cramped working condition.
Large-format honed porcelain slabs at 24 by 48 inches per tile minimize grout lines across the counter surface, reducing both maintenance and visual interruption across the workspace. This material retails between $8 and $18 per square foot installed and outperforms natural stone outdoors because it does not absorb moisture, resists freeze-thaw cycles without cracking, and requires no sealing between seasons. Choose warm greige or soft charcoal rather than bright white — white porcelain shows every water mark and grease splash in an outdoor environment where cleaning between cooking sessions is not always immediate.
For a similar clean material approach indoors, these minimalist kitchen set ideas for 2026 use the same porcelain and neutral palette principles in an interior setting.
4. Build a Floor-to-Ceiling Reclaimed Brick Pizza Oven Enclosure
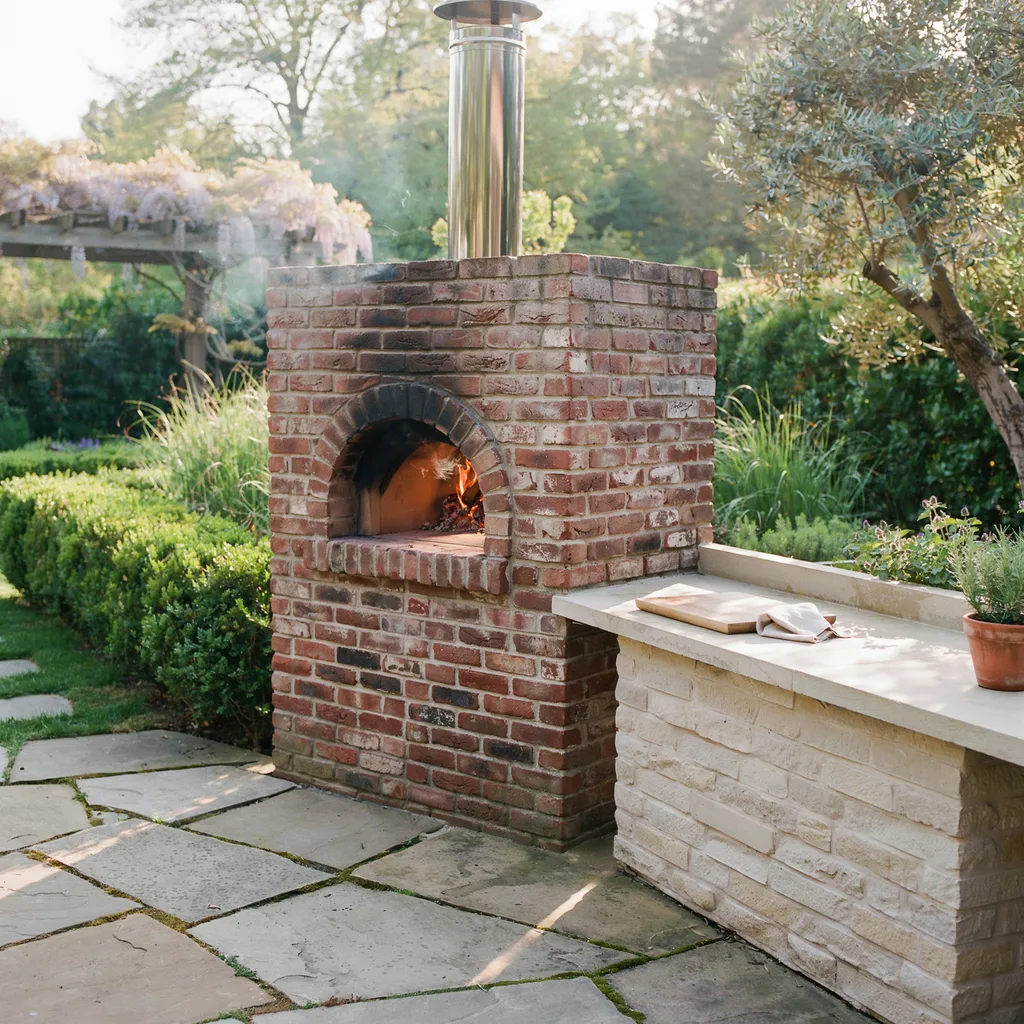
A floor-to-ceiling reclaimed brick pizza oven enclosure is the permanent architectural feature that anchors an outdoor kitchen visually in a way no appliance purchase replicates — the vertical mass it creates gives the kitchen a sense of scale that flat countertop-level layouts never achieve. Building the enclosure from weathered red reclaimed brick salvaged from old industrial structures gives the backyard kitchen an authentic material character that mass-produced stone veneers cannot reproduce regardless of finish quality. A professionally built wood-fired pizza oven with a 32-inch interior dome diameter and surrounding masonry enclosure typically costs between $3,000 and $6,000 installed.
Position the oven at the end of the counter run rather than the center so it reads as a structural terminus that anchors the layout rather than an obstruction in the middle of the workspace. Construct an internal double-wall stainless steel chimney pipe system that vents at least 3 feet above the patio roof overhang to direct smoke cleanly away from the dining area regardless of wind direction. Use the same reclaimed brick for the enclosure base as any surrounding garden wall so the structure reads as part of the landscape architecture rather than an addition installed after the main build was complete.
5. Back the Cooking Zone With a Brazilian Ipe Wood Slatted Wall
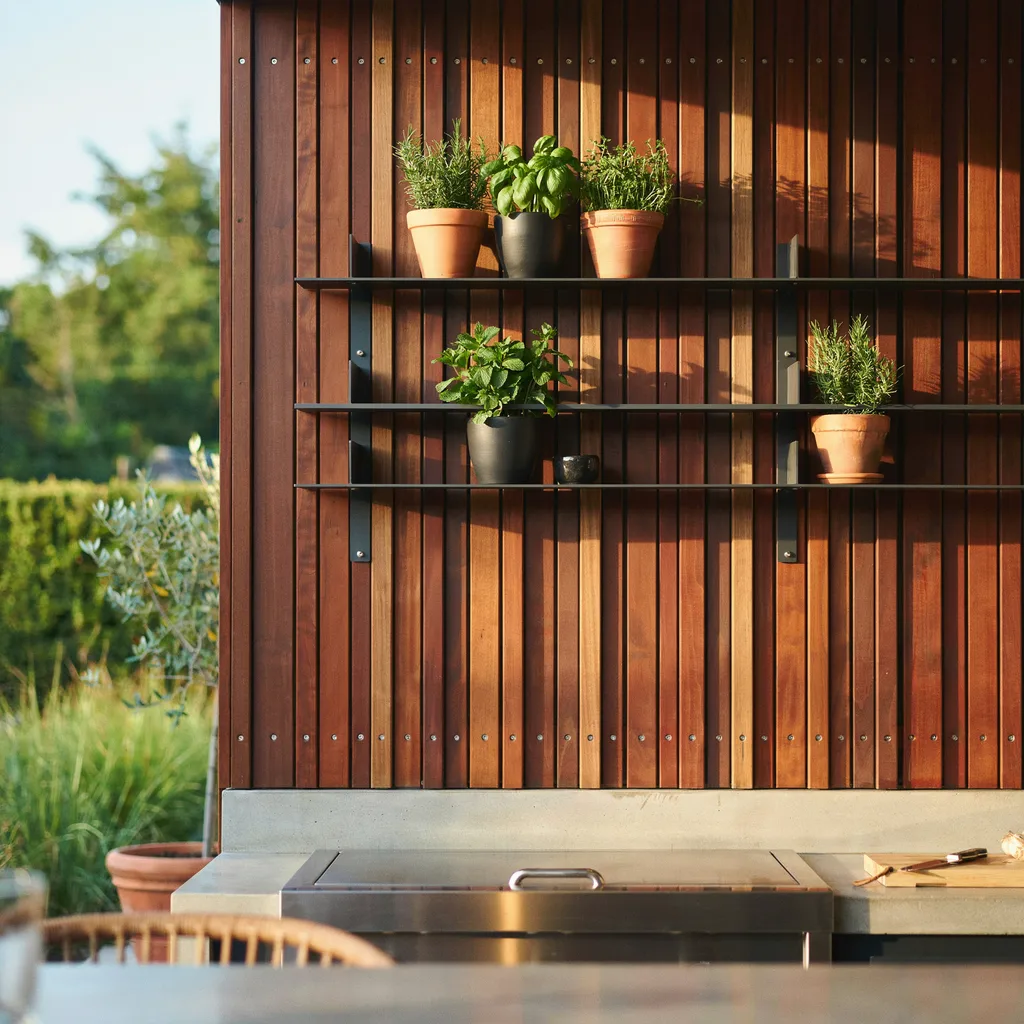
Brazilian Ipe timber used as a slatted accent wall behind the cooking appliances is the material choice that introduces warm luxury into an outdoor kitchen without any decorative accessories — the reddish-brown grain and the clean linear gaps between slats do all the visual work independently. Ipe is one of the few timber species with a natural Class A fire rating matching steel, which makes it the correct wood choice directly behind an active grill zone where standard cedar or pine would present a genuine safety concern. The linear gaps between slats create an architectural rhythm that draws the eye upward, making compact covered patios read as taller than they are.
Fasten the Ipe boards using hidden stainless steel deck screws driven from the side rather than the face so the wall surface stays completely clean and uninterrupted. Treat the timber once annually with a UV-blocking clear hardwood oil to preserve the deep reddish-brown color — without treatment, Ipe weathers to a silver-grey patina within two seasons that, while attractive, loses the warm contrast the wall creates against dark stone countertops. Mount two minimalist matte black metal shelves directly into the slat structure for potted herbs or serving pieces, adding function to the wall without requiring a separate shelving unit installed elsewhere.
6. Drop a Stainless Steel Ice Chest Well Into the Prep Counter
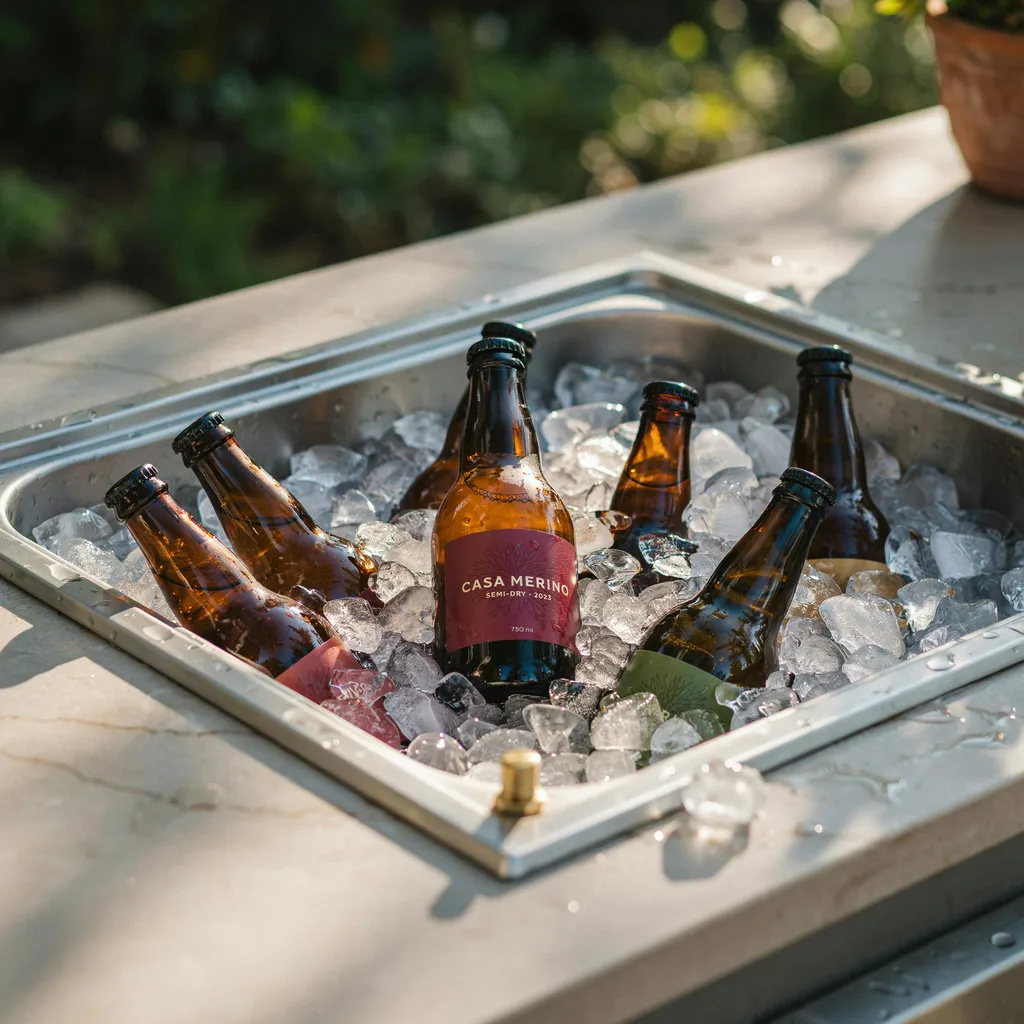
A flush-mounted double-wall stainless steel ice chest well dropped directly into the prep counter keeps beverages at the cooking zone rather than requiring repeated trips to an indoor refrigerator — a functional detail that changes how the outdoor kitchen actually operates during entertaining rather than just how it looks. The double-wall foam insulation specification keeps ice frozen for up to 48 hours even during peak summer heat, which means a Saturday evening gathering does not require ice restocking before guests arrive. A 24-inch wide drop-in ice chest basin with a dedicated bottom drain valve retails between $350 and $500.
Route the drain valve through a flexible vinyl hose line directed out through the back of the island masonry wall into a nearby garden bed or French drain, so melting ice empties away automatically without pooling on the patio surface or requiring manual emptying between uses. Position the ice chest on the serving side of the island rather than the cooking side so guests can access drinks without crossing into the active prep zone — a layout separation that prevents traffic congestion around the grill during actual cooking. The flush installation keeps the countertop surface continuous and uninterrupted rather than introducing a visible rim or lip at the counter level.
7. Add a Cedar Pergola With Retractable Canvas Shade
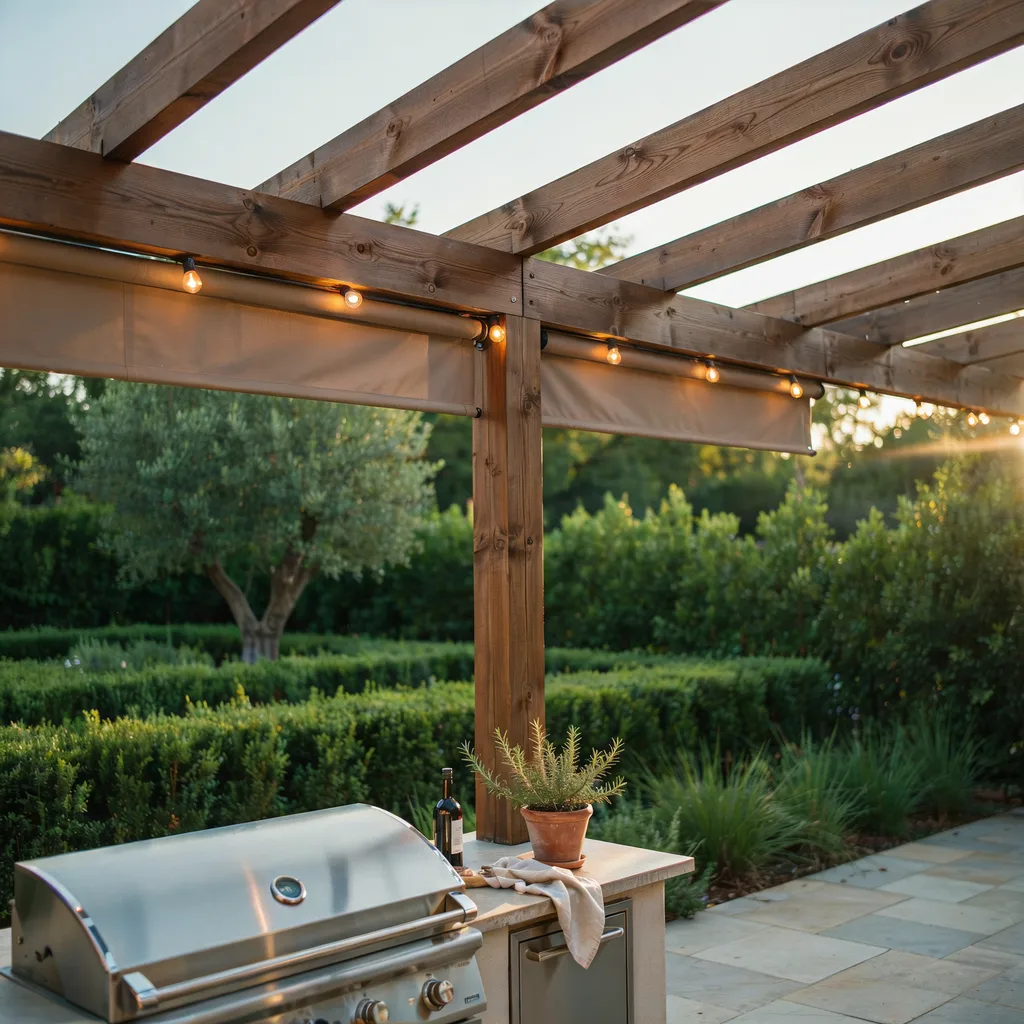
A cedar pergola built directly over the cooking zone transforms an outdoor kitchen from a backyard feature into a defined architectural room — the overhead element creates a ceiling plane that visually contains the space and gives the kitchen the same spatial logic as an interior room without enclosing it. Natural western red cedar weathers to a silver-grey patina over two to three seasons that coordinates with both warm stone and stainless steel finishes below, and it costs significantly less than teak or hardwood alternatives while performing comparably in most climate zones. A freestanding cedar pergola measuring 12 by 14 feet — large enough to cover a full outdoor kitchen island with clearance on all sides — typically runs between $2,500 and $5,000 in materials for a competent DIY build.
Pair the pergola with a retractable solution-dyed acrylic canvas shade fabric on a manual or motorized track system mounted between the beams — solution-dyed acrylic resists UV fading for up to ten years without significant color loss, unlike standard canvas which begins fading within the first two outdoor seasons. Add a single run of warm white Edison string lights along the interior beam line so the space transitions from a functional cooking zone during daylight to a lit outdoor dining room after dark without any additional lighting infrastructure. Anchor the cedar pillars into buried concrete footings using heavy-duty galvanized steel post bases so the structure stands without movement through winter wind loads.
8. Install a Moroccan Zellige Tile Backsplash Behind the Grill
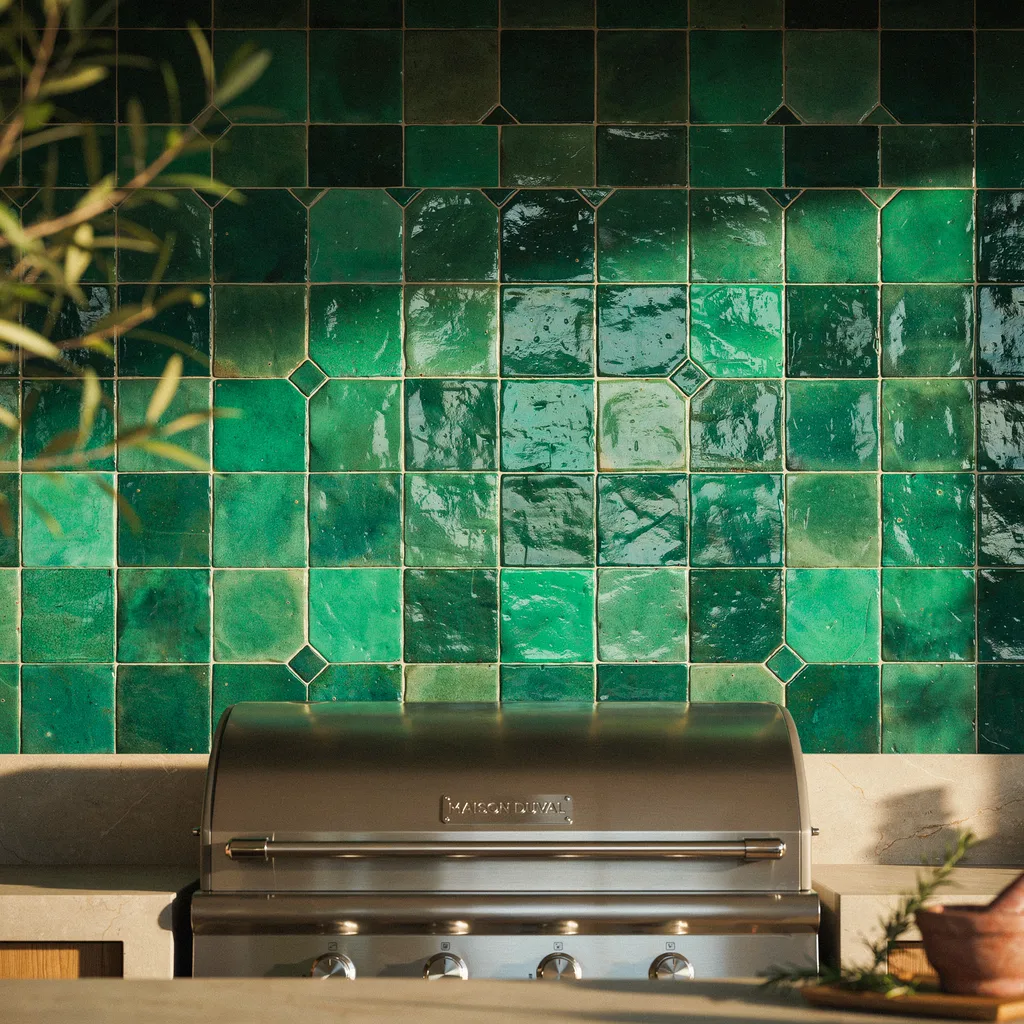
Hand-crafted Moroccan Zellige tiles used as a backsplash directly behind the grill zone introduce an artistic surface detail that no other backsplash material replicates — each clay tile features unique hand-cut irregular edges and a glossy glaze that catches and refracts sunlight in shifting water-like patterns throughout the day as the light angle changes. Choosing a rich emerald green or deep sapphire blue colorway creates a deliberate contrast against warm greige porcelain countertops and neutral limestone surrounds, making the backsplash the clear focal point of the cooking wall without requiring any additional decorative work. These artisan tiles retail between $18 and $35 per square foot depending on origin and colorway.
Install Zellige tiles using exterior-grade thinset mortar with a zero-grout-joint technique — the natural variation in tile thickness means grout lines would be uneven anyway, and the seamless installation reads as more intentional and high-end than a standard grouted layout. The glossy fired clay surface cleans with a damp cloth or direct garden hose rinse, making it one of the lowest-maintenance backsplash options for a zone that accumulates grease splatter during active cooking. Limit the Zellige installation to the direct backsplash area between countertop and upper shelf rather than running it across every wall surface — containment makes the material read as a deliberate feature rather than an all-over finish decision.
9. Pour an Absolute Black Granite Waterfall Island
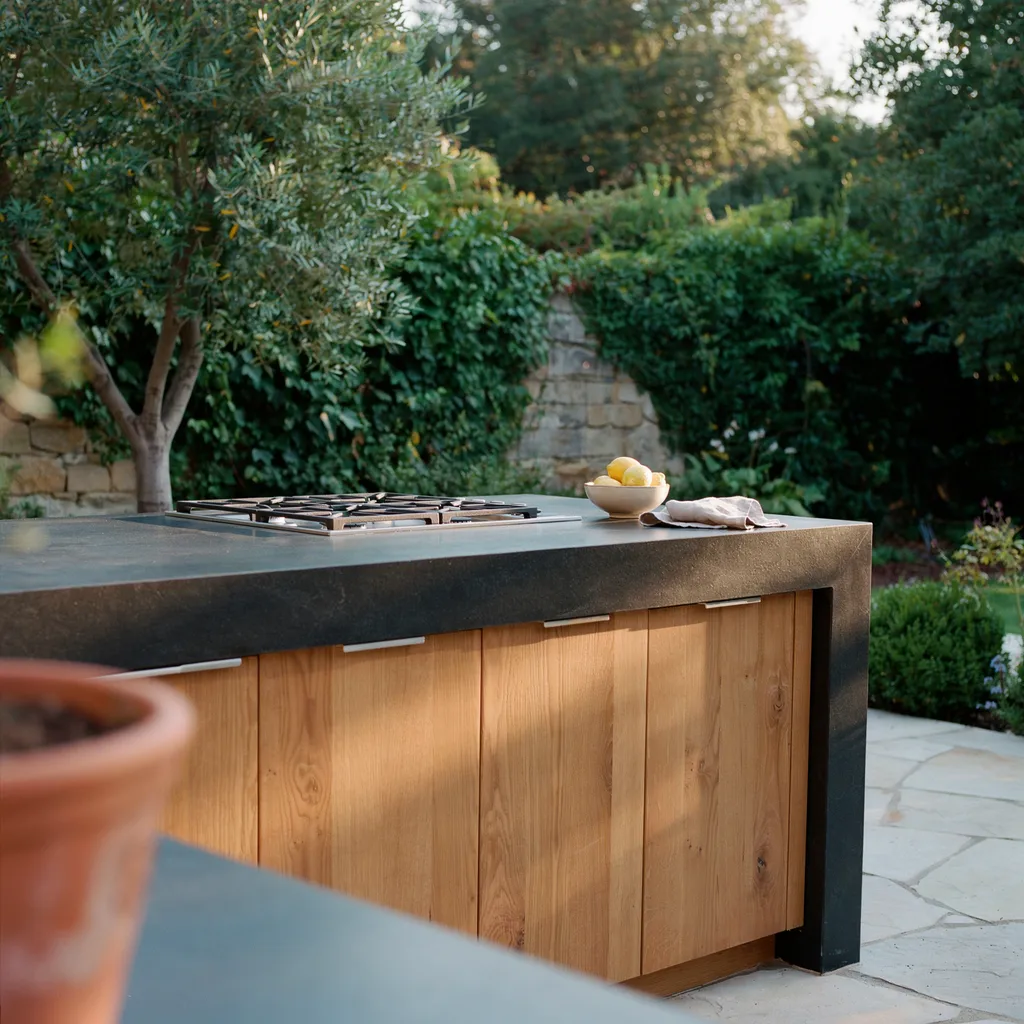
An absolute black honed granite island with a full waterfall edge — where the countertop material continues vertically down one side to the patio surface — is the single finish detail that makes an outdoor kitchen read as custom fabricated rather than contractor-standard. The waterfall edge eliminates the visual break between countertop and base structure, creating one continuous plane of dark stone that reads as an architectural element rather than a kitchen component sitting on top of a cabinet box. Absolute black granite in a honed rather than polished finish is the correct outdoor specification because the matte surface does not show fingerprints or water spots under direct afternoon sunlight the way a polished finish does.
A 48 by 96-inch granite island slab at 1.5-inch thickness with a full waterfall edge on one end typically runs between $1,800 and $3,200 installed depending on region and fabricator. Pair the dark stone with warm cedar cabinet fronts below the counter — western red cedar finished with a penetrating exterior oil rather than a film varnish, since film finishes peel and crack outdoors within two to three seasons. Specify brushed stainless steel drawer pulls at 4 inches center-to-center so the hardware reads as a quiet functional detail against the cedar grain rather than a decorative statement competing with the stone above.
10. Add Under-Counter LED Task Lighting at 2700K
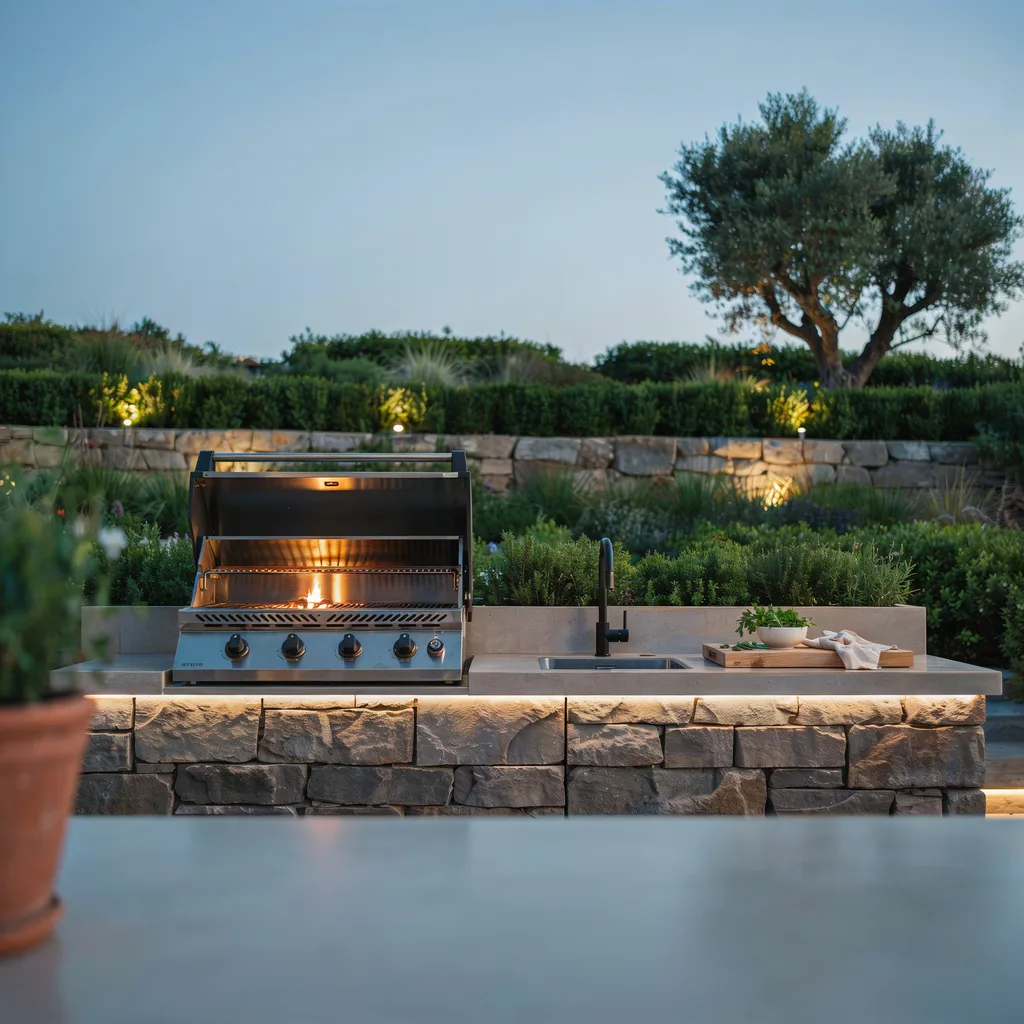
Waterproof IP65-rated warm white LED strip lighting mounted under the full countertop overhang is the single addition that makes an outdoor kitchen genuinely functional after sunset rather than simply decorative — without it, the workspace becomes unusable the moment natural light drops below cooking threshold. IP65 is the minimum outdoor rating required for a strip that will face rain, splashing, and pressure washing without moisture infiltration into the strip housing. A 16-foot reel of IP65 warm white LED strip at 2700K color temperature retails between $35 and $65 and covers most standard outdoor kitchen counter runs with enough remaining to wrap one corner.
Mount the strip 2 inches back from the front edge of the countertop overhang so the light source is not directly visible from a seated position at the counter — this placement illuminates the prep surface cleanly without creating glare at eye level. Connect the strip to a weatherproof outdoor dimmer switch mounted flush at one end of the counter run so output adjusts from bright task lighting during cooking to low ambient during dining without changing any fixture. The 2700K color temperature specifically keeps the outdoor kitchen visually cohesive with warm garden lighting rather than reading as a clinical white under the cooler temperatures that standard utility lighting defaults to outdoors.
11. Run Low-Voltage Brass Pathway Lights Around the Perimeter
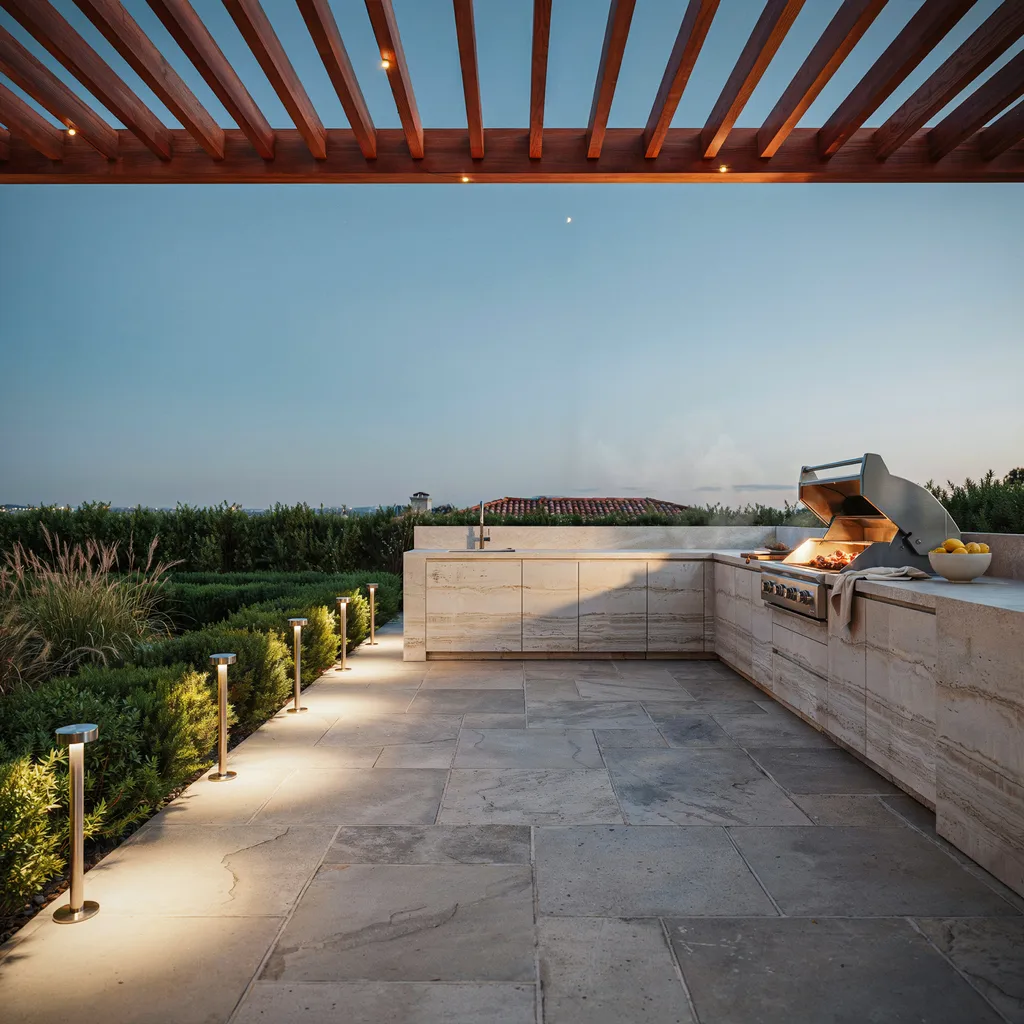
Low-voltage brass pathway lights spaced at 6 to 8 feet apart along the garden edge surrounding the outdoor kitchen perimeter define the cooking zone as a specific destination within the backyard rather than a structure sitting in open space — the ground-level light pooling on the patio surface creates a soft containment line that reads clearly after dark without any vertical lighting infrastructure. Brass fixture bodies weather to a warm natural patina outdoors that coordinates with cedar pergola beams, warm stone surrounds, and greige countertop tones without requiring finish matching at the selection stage. A 12-volt low-voltage system with a transformer rated for total fixture wattage is the correct DIY installation approach — it requires no licensed electrician and wiring buries at 3 inches below grade rather than the 18-inch depth required for line-voltage systems.
Space fixtures at 6 to 8 feet apart rather than closer together — tighter spacing creates a runway effect rather than the soft perimeter definition the lighting is designed to achieve. Specify 2700K color temperature to match the under-counter LED strip so every light source in the outdoor kitchen reads as part of one cohesive warm lighting system rather than a mix of color temperatures that creates visual inconsistency across the space at night. The combination of perimeter pathway lights at ground level and under-counter task lighting at counter level creates a layered lighting effect that makes neither source redundant — both are doing different spatial work simultaneously.
12. Unify Every Fixture and Hardware Point in Matte Black
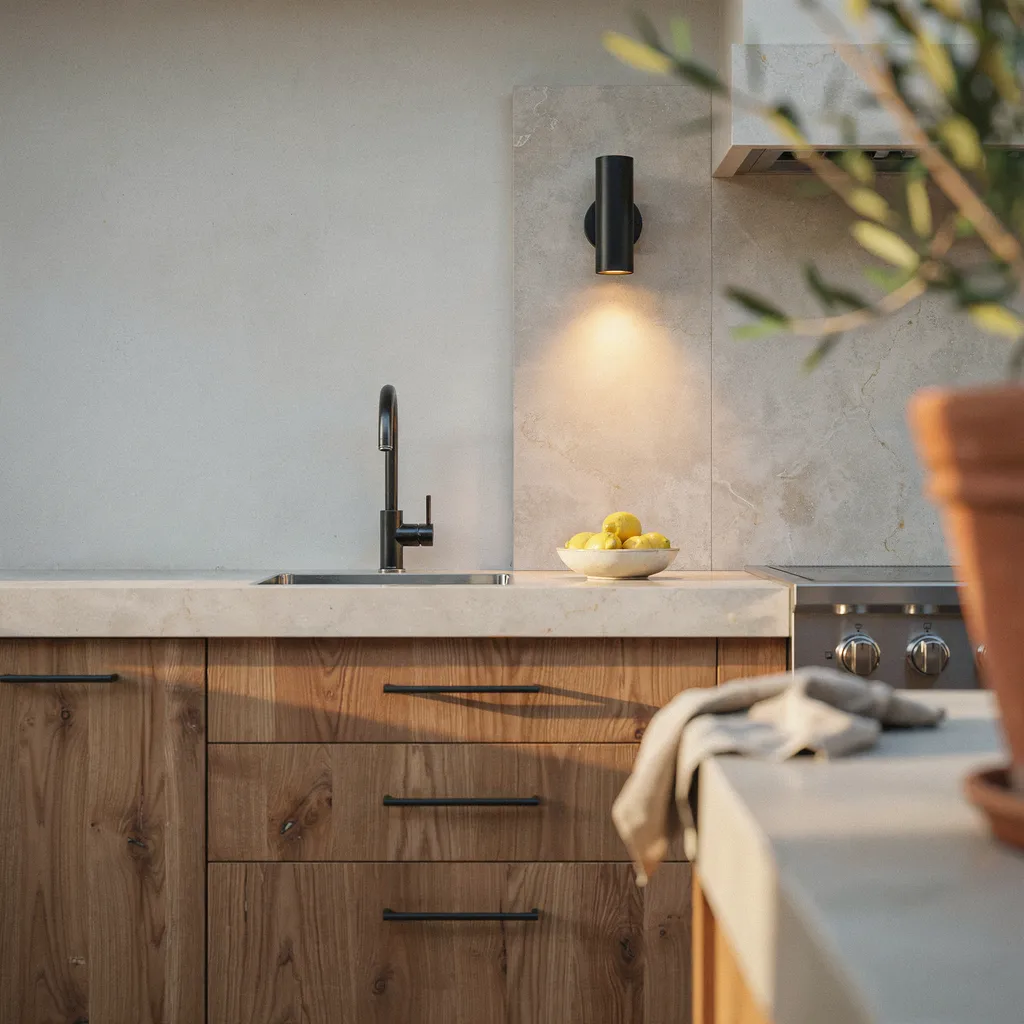
Using matte black for every fixture and hardware point throughout the outdoor kitchen — wall sconces, sink faucet, cabinet pulls, grill knobs, outlet covers, and dimmer switch plates — is the finish consistency decision that makes the space read as deliberately designed rather than assembled from purchasing decisions made at different times across different stores. The matte black powder coat finish works against warm stone, dark granite, natural cedar, and stainless steel equally well because the non-reflective surface does not create competing highlights under direct afternoon sun the way polished chrome or brushed nickel does outdoors. It is also the most forgiving finish for ongoing maintenance — matte black does not show water spots, fingerprints, or minor surface marks the way any polished finish does in an outdoor environment.
Specify outdoor-rated matte black fixtures rather than interior fixtures painted black — indoor-rated sconces and faucets are not sealed against UV exposure or moisture infiltration, and surface degradation becomes visible within the first full outdoor season of direct weather exposure. Mount a single matte black outdoor wall sconce on each side of the cooking zone at 66 inches from the finished patio surface for even face lighting across the counter area without harsh shadows during evening use. When every hardware and fixture point shares the same finish across the entire outdoor kitchen, the space reads as one cohesive installation — which is the specific visual quality that distinguishes a designed outdoor kitchen from one built incrementally without a material plan.
Conclusion:
These 12 outdoor kitchen ideas that feel luxurious share one consistent principle — permanent materials and deliberate layout decisions deliver more visual impact than any collection of outdoor furniture or surface-level decoration ever will. Start with the structural choices first: the surround material, the countertop specification, the pergola overhead, and the grill installation type, since those four decisions define the character of the space before a single accessory is selected. The flush-mounted grill, continuous countertop wrap, and marine-grade storage drawers are the three functional details that most change how the kitchen performs during actual daily use rather than just how it photographs on a finished day. The Moroccan Zellige backsplash and Brazilian Ipe slatted wall are the two material choices on this list that no catalog outdoor kitchen includes — both require deliberate selection and both deliver a result that reads as genuinely custom.
Matte black hardware unified across every fixture point is the lowest-cost decision on this list relative to the visual cohesion it creates across every surface simultaneously. The layered lighting system — IP65 under-counter strips at 2700K combined with low-voltage brass perimeter pathway lights — is what makes the outdoor kitchen usable and visually compelling at every hour rather than only during daylight. The drop-in ice chest well and built-in sink are the two functional additions that shift the space from a cooking feature into an outdoor room that operates independently from the house during entertaining. Every idea here can be phased across multiple seasons and budgets — none requires completing the full layout in a single project to deliver meaningful visual and functional results from day one.
For more luxury outdoor kitchen inspiration and backyard styling ideas, follow NestellaHome on Pinterest.
Frequently Asked Questions:
Q1. What countertop material holds up best in an outdoor kitchen?
Honed porcelain in a large-format slab is the most durable outdoor countertop material because it does not absorb moisture, resists UV fading, handles freeze-thaw cycles without cracking, and requires no sealing between seasons. Absolute black honed granite delivers a more luxurious visual result but requires annual resealing outdoors. Avoid polished marble and unsealed concrete as primary outdoor countertop surfaces — both require intensive maintenance under direct weather exposure year-round.
Q2. What is the difference between 304 and 316 stainless steel for outdoor kitchens?
standard 304 stainless steel is durable in most conditions but susceptible to surface rust and pitting corrosion near swimming pools or coastal properties where salt-air and chlorine exposure are ongoing. Marine-grade 316 stainless steel contains molybdenum, which provides maximum protection against corrosion in these specific environments. For most inland residential outdoor kitchens away from pools, 304 is adequate — for pool-adjacent or coastal installations, 316 is the correct specification.
Q3. Do I need a permit to build an outdoor kitchen?
Most municipalities require a building permit for any permanent outdoor kitchen structure that includes gas lines, electrical connections, or plumbing. A freestanding island with no utility connections typically does not require a permit, but any built-in structure attached to the house or resting on a poured concrete foundation usually does. Always check with your local building department before starting construction since permit requirements vary significantly by city and county.
Q4. How far should an outdoor kitchen be from the house?
A permanently built outdoor kitchen with a gas grill should sit a minimum of 10 feet from any combustible structure including wood siding, wood decking, and overhanging eaves. A kitchen built under a pergola attached to the house requires a non-combustible ceiling material directly above the grill — standard wood pergola beams within 36 inches of the cooking surface do not meet most fire safety clearances regardless of timber species.
Q5. What is the most cost-effective luxury upgrade for an outdoor kitchen?
Matte black hardware and fixtures throughout — replacing standard chrome or brushed nickel pulls, faucets, and sconces with outdoor-rated matte black equivalents — delivers the highest visual impact per dollar of any single upgrade. The total cost for a complete hardware and fixture switch-out on a standard outdoor kitchen runs between $300 and $700 depending on fixture count, and the finish consistency it creates across the entire space is the detail that most visually distinguishes a designed outdoor kitchen from a standard one.