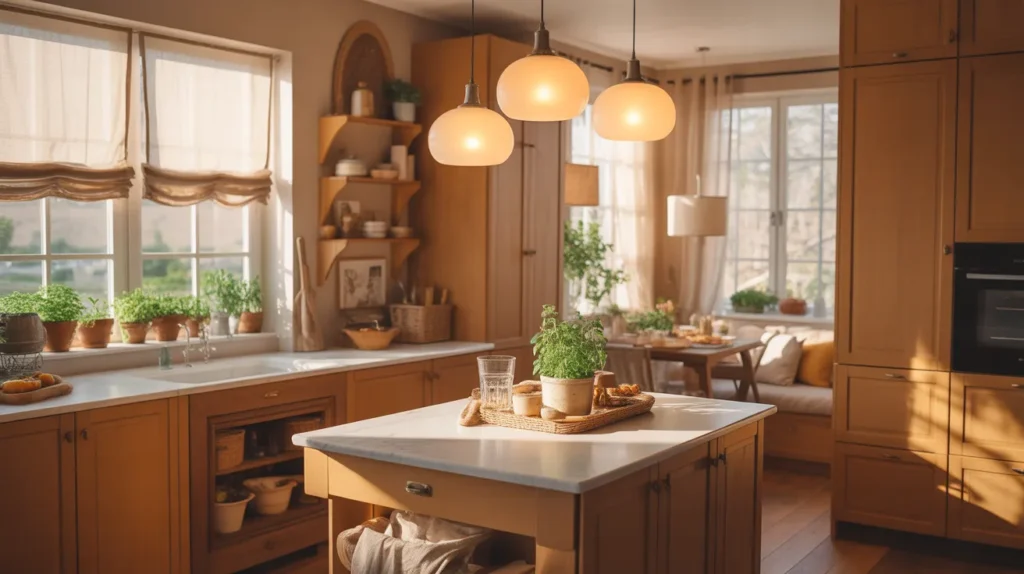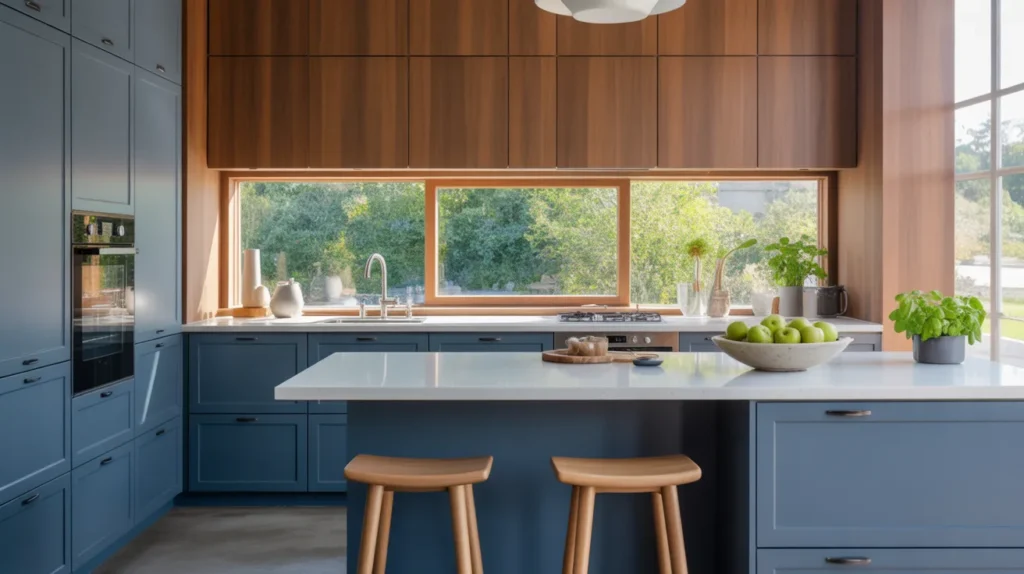
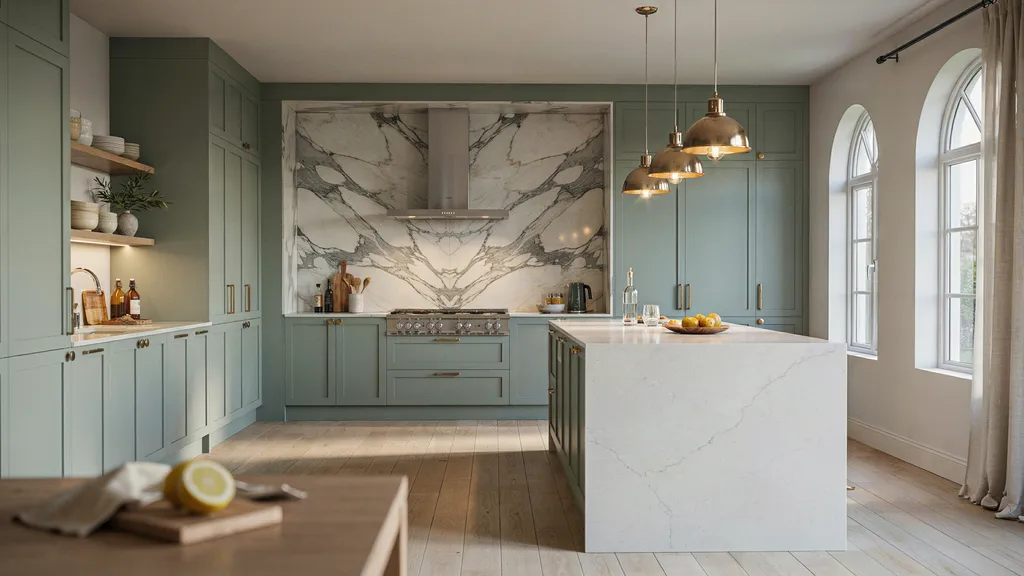
Most kitchen remodels look expensive only in the contractor’s showroom — and that is exactly what these 11 kitchen remodel ideas that look expensive are designed to fix before a single cabinet is ordered. The one material detail making the biggest difference in high-end kitchen design right now is a slab-front cabinet door in warm white or greige lacquer, which reads as custom millwork from across the room without the custom millwork price tag.
These kitchen remodel ideas are not about gutting everything and starting over — they are about identifying the four or five surfaces that carry the most visual weight and upgrading those specifically. Swapping flat-pack cabinet doors for slab-front panels, replacing builder-grade hardware with unlacquered brass pulls at 5 inches center-to-center, and running the backsplash tile all the way to the ceiling are three decisions that together shift a standard kitchen into something that reads as deliberately designed.
What separates kitchen renovation ideas that actually look expensive from ones that fall flat is one consistently underrated detail — a continuous countertop material wrapping both the island and the perimeter in the same slab, eliminating the visual break that two different surfaces always create. The ideas ahead cover exact materials, finish combinations, and installation details so your kitchen remodel reads as a considered design decision rather than a budget spent all at once with mixed results.
1. Waterfall-Edge Quartz Countertops
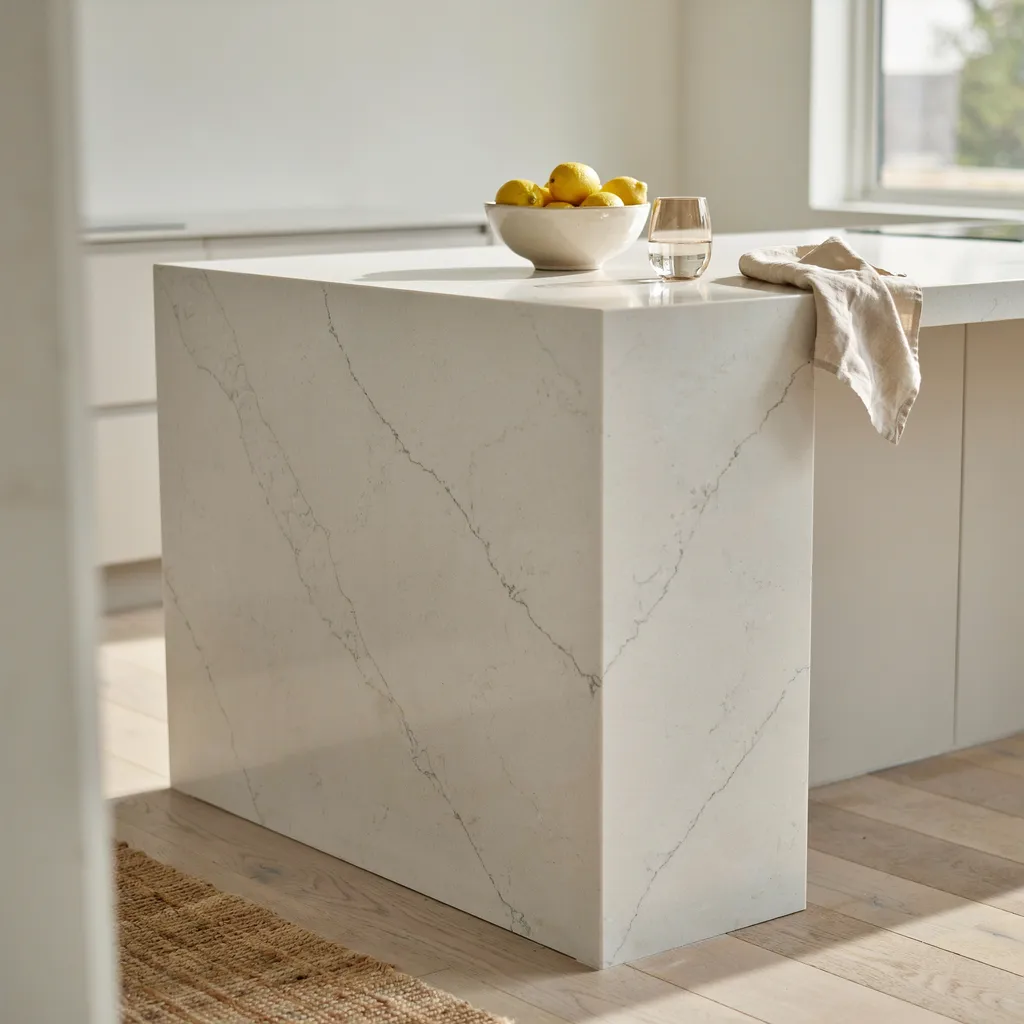
A waterfall countertop is one of the fastest visual signals of a custom build, even in a modest kitchen. Instead of stopping at the island’s edge, the slab continues straight down the side to the floor, hiding the cabinetry beneath one unbroken surface. This works best with 2cm quartz or porcelain, since both can be cut and matched without visible seams or veining interruptions breaking the line.
Budget $80 to $150 per square foot installed, and ask your fabricator for a mitered edge for the cleanest finish. If a full waterfall isn’t realistic right now, a 2-inch-thick edge on just the island front mimics the same substantial look for considerably less.
2. Full-Height Stone or Tile Backsplash
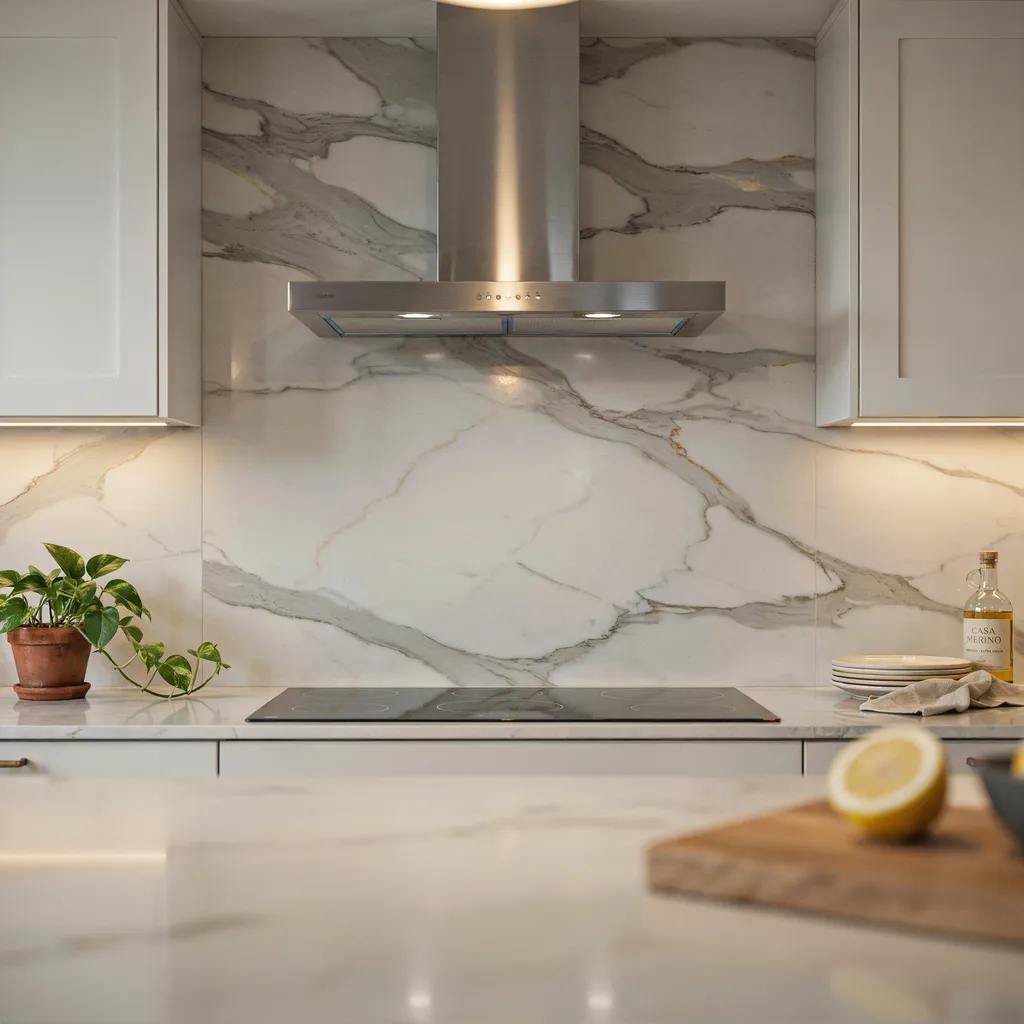
Stopping a backsplash at 18 inches above the counter is one of the most common reasons a kitchen looks unfinished. Carrying the material all the way up to the underside of the upper cabinets — or to the ceiling behind the range — turns that wall into a focal point that reads as professionally designed. A single continuous slab, or handmade zellige tile in one warm tone, adds texture without needing a busy pattern to feel complete.
Plan for $15 to $35 per square foot for tile and labor combined, or ask your fabricator to cut the backsplash from the same stone slab as your countertop for a matched, book-ended grain. Either way, request a tight 1/16-inch grout line — tighter lines read as far more refined than the wider spacing used in budget installs.
3. Brass or Unlacquered Hardware
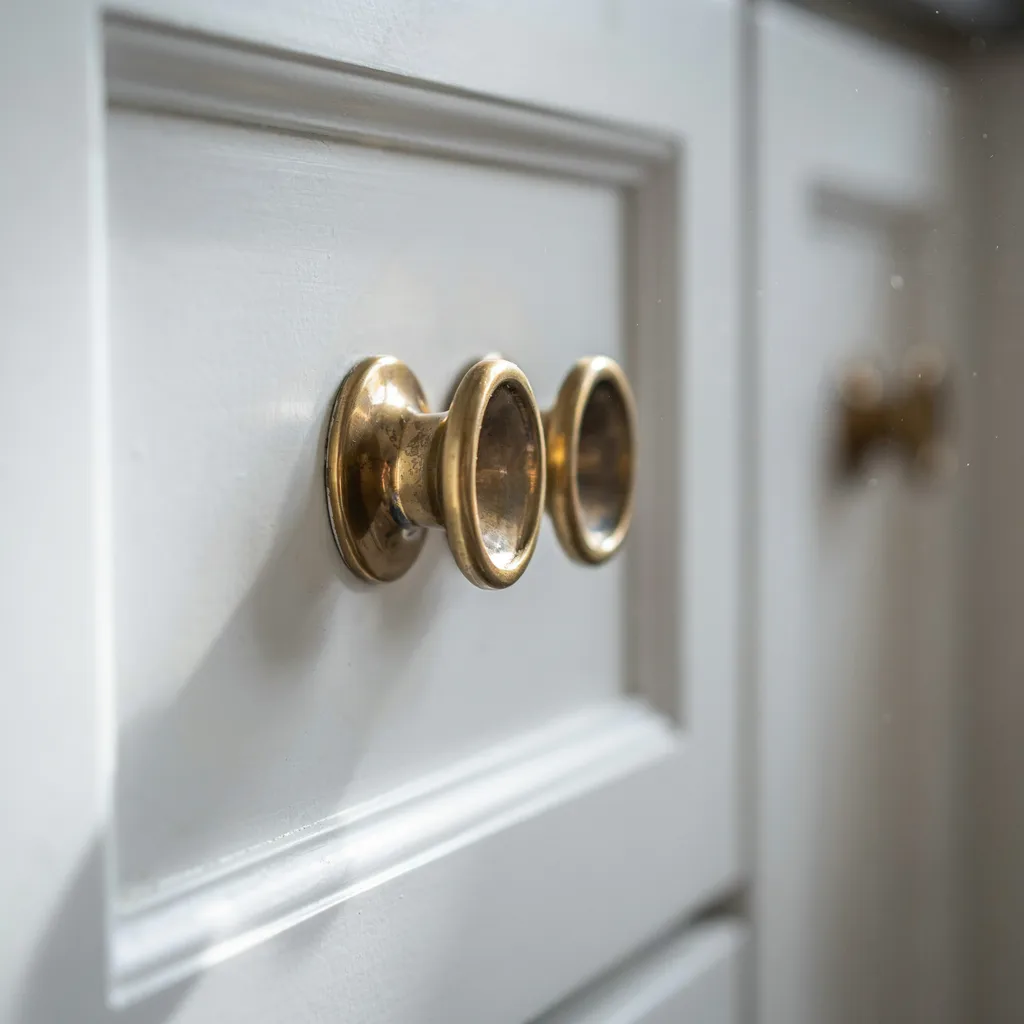
Swapping builder-grade knobs for unlacquered brass is one of the cheapest ways to make a kitchen feel intentional rather than off-the-shelf. Unlike polished or coated brass, the unlacquered version is designed to oxidize naturally over time, developing a soft, golden-brown patina — exactly the slightly worn, collected-over-years look that high-end kitchens tend to have. The texture also catches light differently than chrome, adding depth even to flat-front cabinets.
A full set of pulls and knobs typically runs $300 to $700, far less than refacing cabinets entirely. Stick to one finish and one pull style throughout the kitchen; mixing several finishes is what makes hardware look assembled rather than chosen.
4. Furniture-Style Island Legs
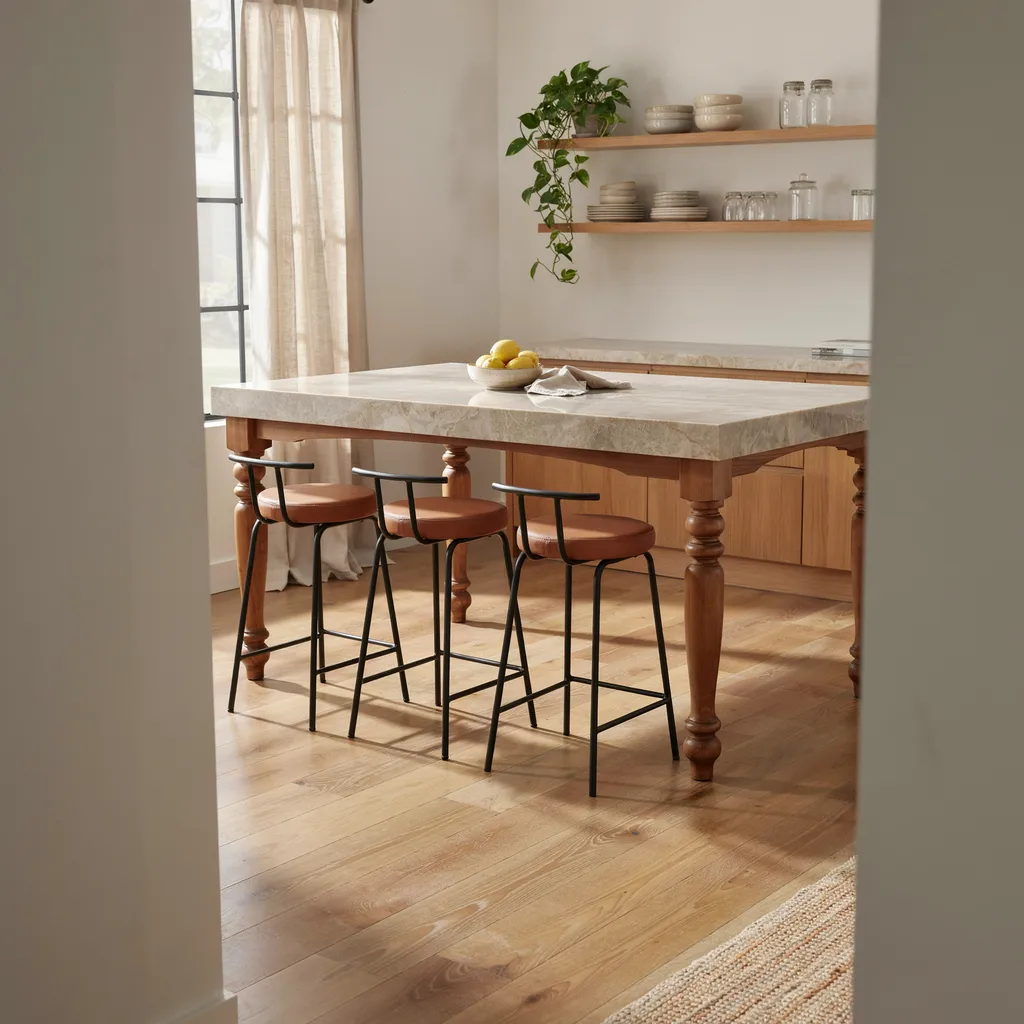
Most stock islands sit on one continuous cabinet base, which can look boxy no matter how nice the countertop above it is. Adding furniture-style legs — turned wood posts or slim tapered metal ones — breaks up that bulk and makes the island read as a standalone piece of furniture instead of a built-in box. It’s a detail common in custom kitchens precisely because it adds visible craftsmanship without changing how the island functions day to day.
Pre-made leg kits start around $150 to $400 per set and can often be retrofitted onto an existing island base in a weekend. Pair the legs with at least a 12-inch counter overhang on the seating side so the proportions look balanced instead of stubby.
5. Flush, Hidden Range Hood
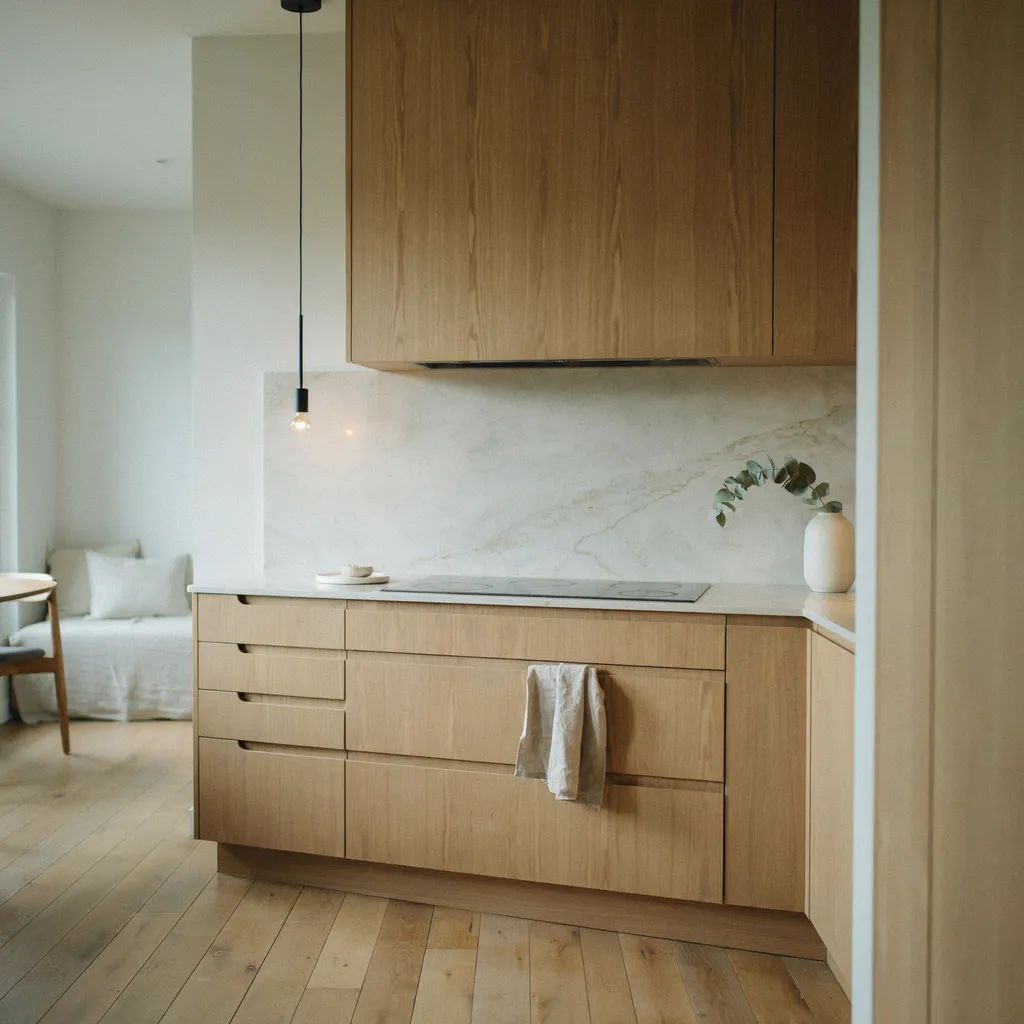
A bulky stainless hood jutting from the wall is often the single most dated element in an otherwise updated kitchen. Concealing the hood insert inside a panel that matches the surrounding cabinetry removes that visual interruption completely, letting the eye travel across the room without snagging on hardware. It’s a favorite move in minimalist and Scandinavian kitchens, where uninterrupted lines are the entire point of the design.
A custom hood enclosure typically adds $400 to $1,200 to a remodel depending on size and material, and most cabinet shops can build it using leftover door panels. Confirm the insert underneath has at least 600 CFM if the range sees daily use — concealment shouldn’t come at the cost of function.
6. Layered, Intentional Lighting
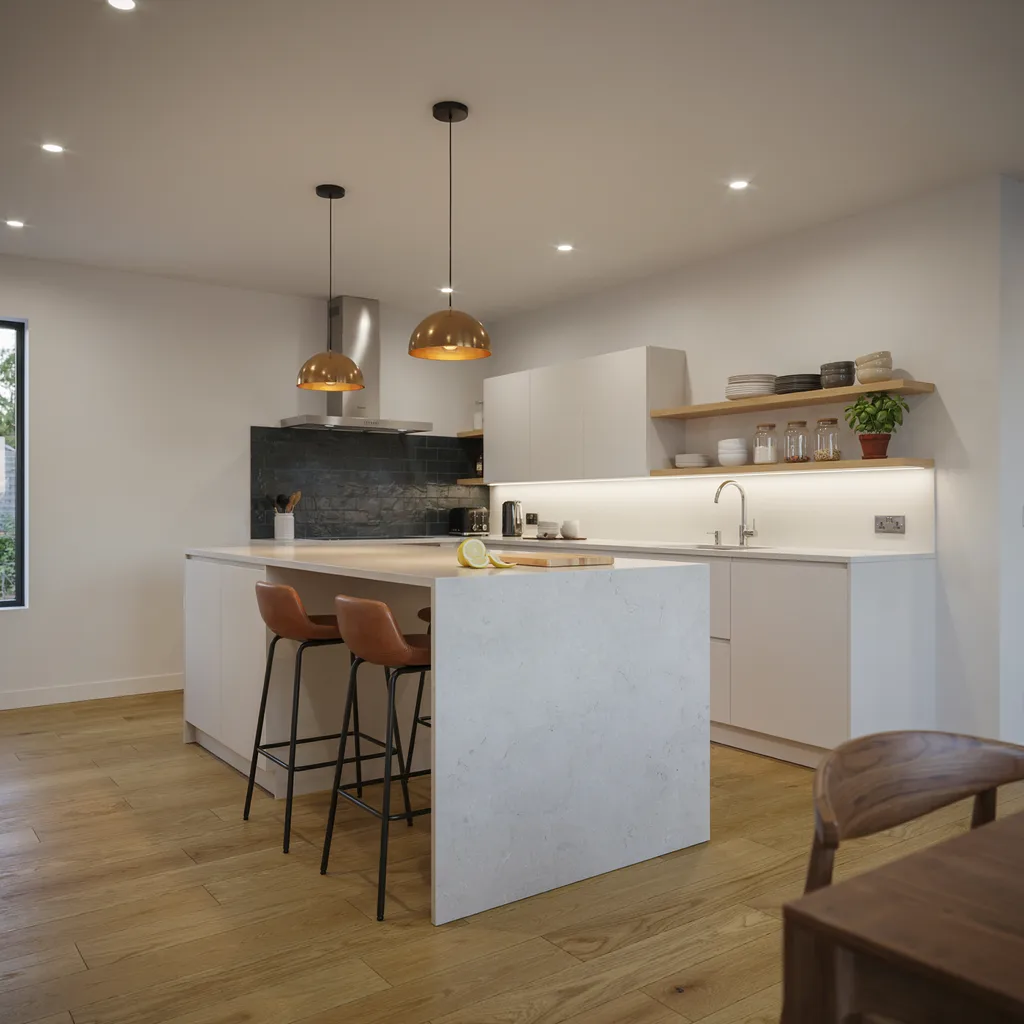
Lighting changes how expensive a kitchen feels more than almost anything else on this list. A single central ceiling fixture casts flat shadows across prep counters, while combining pendant lighting over the island, recessed ceiling lights, and a strip of under-cabinet LEDs creates real depth across the room. Warm 3000K bulbs throughout — rather than mixing warm and cool tones — keep the whole space looking cohesive instead of patchworked.
Hang island pendants so the bottom sits 30 to 36 inches above the counter, and budget $150 to $500 per fixture for a quality piece. Two medium pendants almost always look more proportional than one oversized statement light centered awkwardly over a long island.
7. Paneled, Integrated Appliances
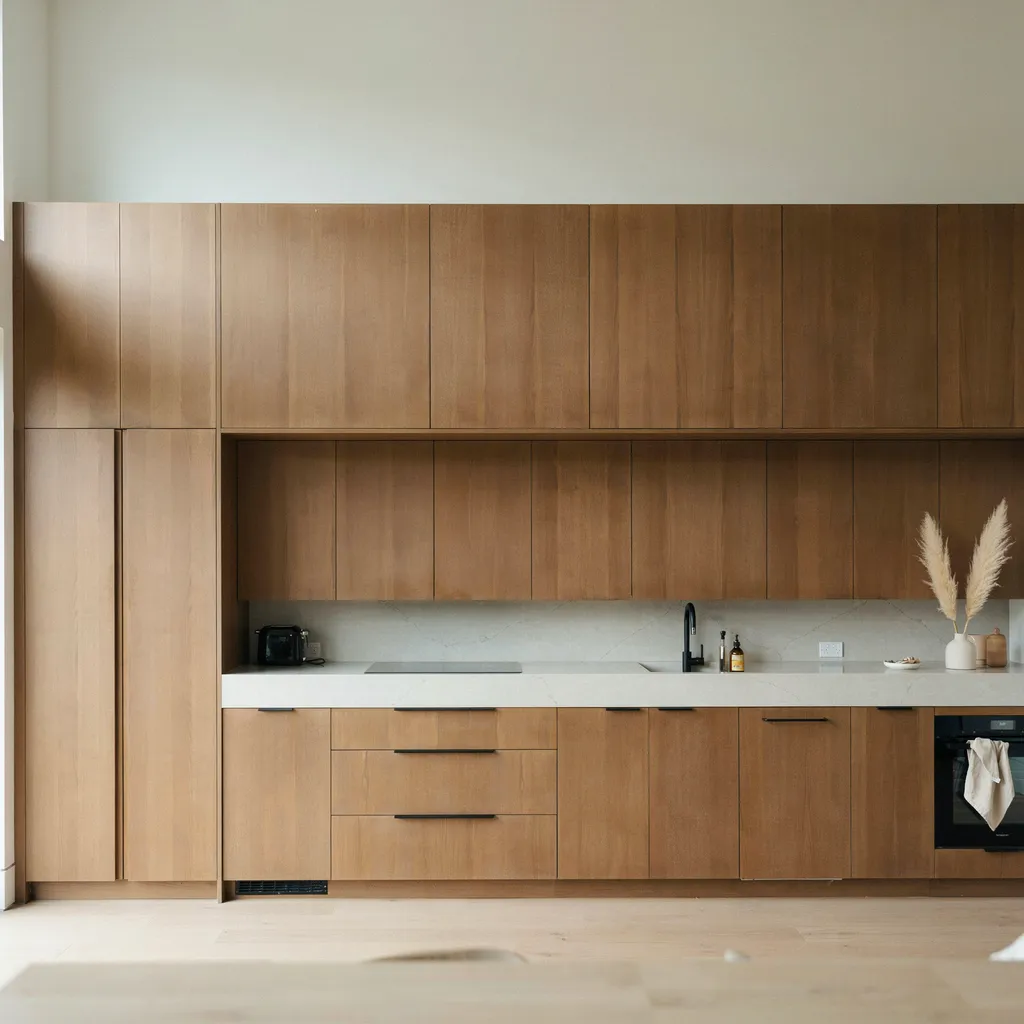
Stainless steel was once the default upgrade, but fully concealed, paneled appliances now signal a more custom build. Covering the refrigerator and dishwasher in panels that match the surrounding cabinetry removes the visual breaks that stainless fronts create, so the wall reads as one continuous run of cabinetry instead of a row of separate boxes.
Specify fully integrated appliances rather than panel-ready models for the cleanest flush fit, and expect a premium of $400 to $700 per appliance for the matching panels. If a full integrated fridge isn’t in the budget yet, paneling just the dishwasher front can quietly upgrade the room for under $150 in materials.
8. Fluted Wood Island Paneling
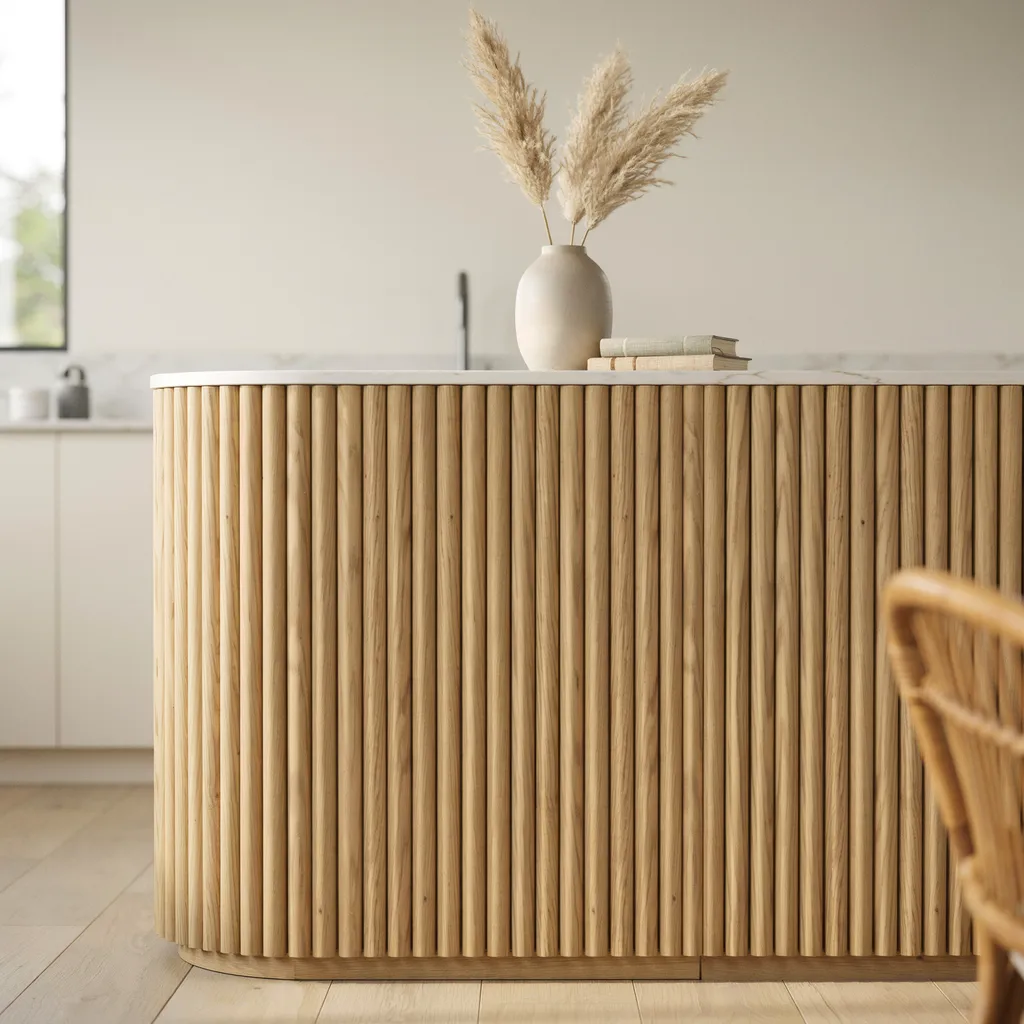
Wrapping a plain, flat island base in vertical fluted wood panels adds texture and architectural rhythm that a flat painted box simply can’t deliver. Light rift-sawn white oak gives the island a soft, Scandinavian-leaning warmth that pairs naturally with white or neutral stone countertops, and the repeating vertical lines make even a small island feel more substantial.
Pre-fabricated fluted oak panels run around $150 to $200 per 4×8-foot sheet, making this a realistic weekend project rather than a full carpentry job. Fasten panels with adhesive and a pin nailer along hidden seams, and finish with a matte sealant so the wood resists everyday scuffs without looking glossy or plastic.
9. A Single Bold Color on Lower Cabinets
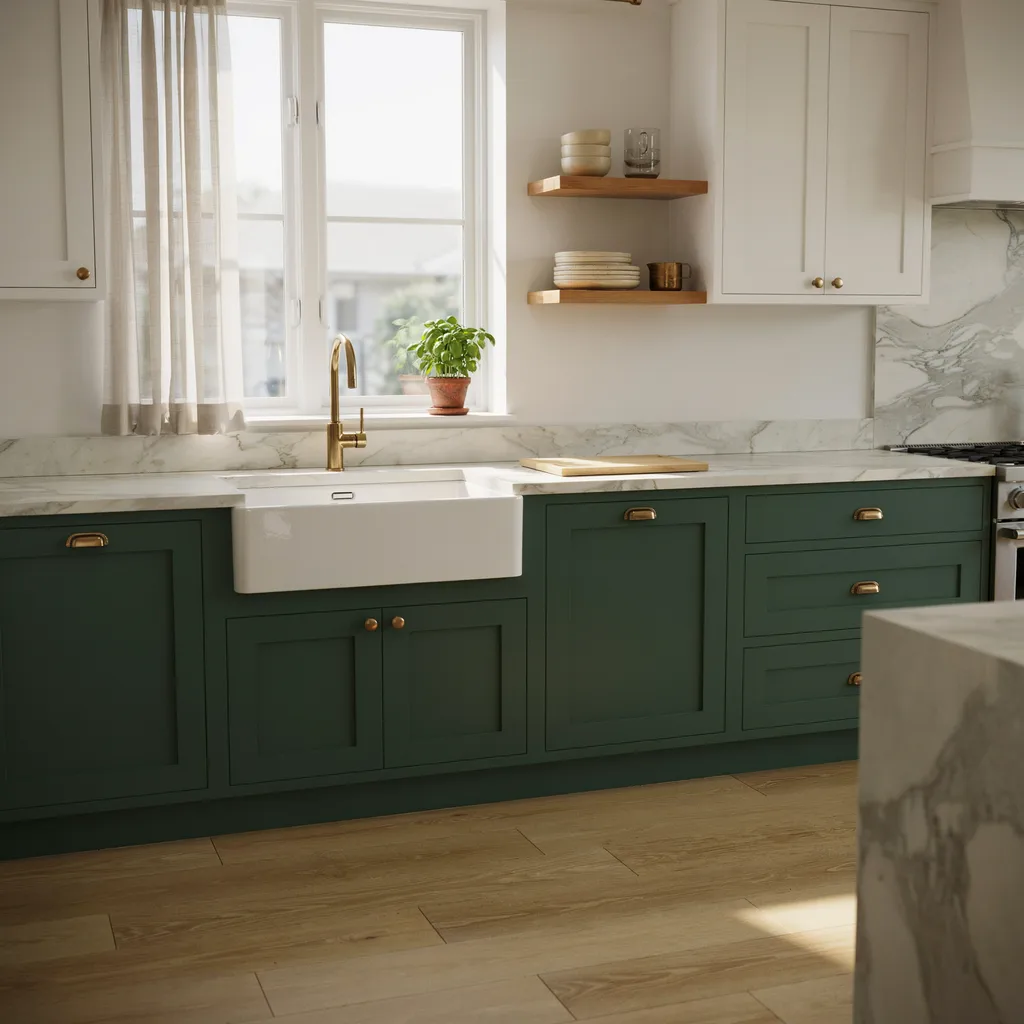
An all-white kitchen photographs cleanly, but a single saturated color on the lower cabinets only — paired with white or neutral uppers — gives the room far more personality and depth. Deep greens, navy blues, and warm terracottas read as confident rather than trendy, especially against brass or matte black hardware for contrast.
A full repaint of lower cabinets costs $300 to $800 in materials as a DIY project with a cabinet-grade enamel, or $1,500 to $3,500 done professionally. Use a satin or semi-gloss finish rather than matte — the slight sheen holds up better to daily wear around handles and edges.
10. Wide-Plank Wood Flooring
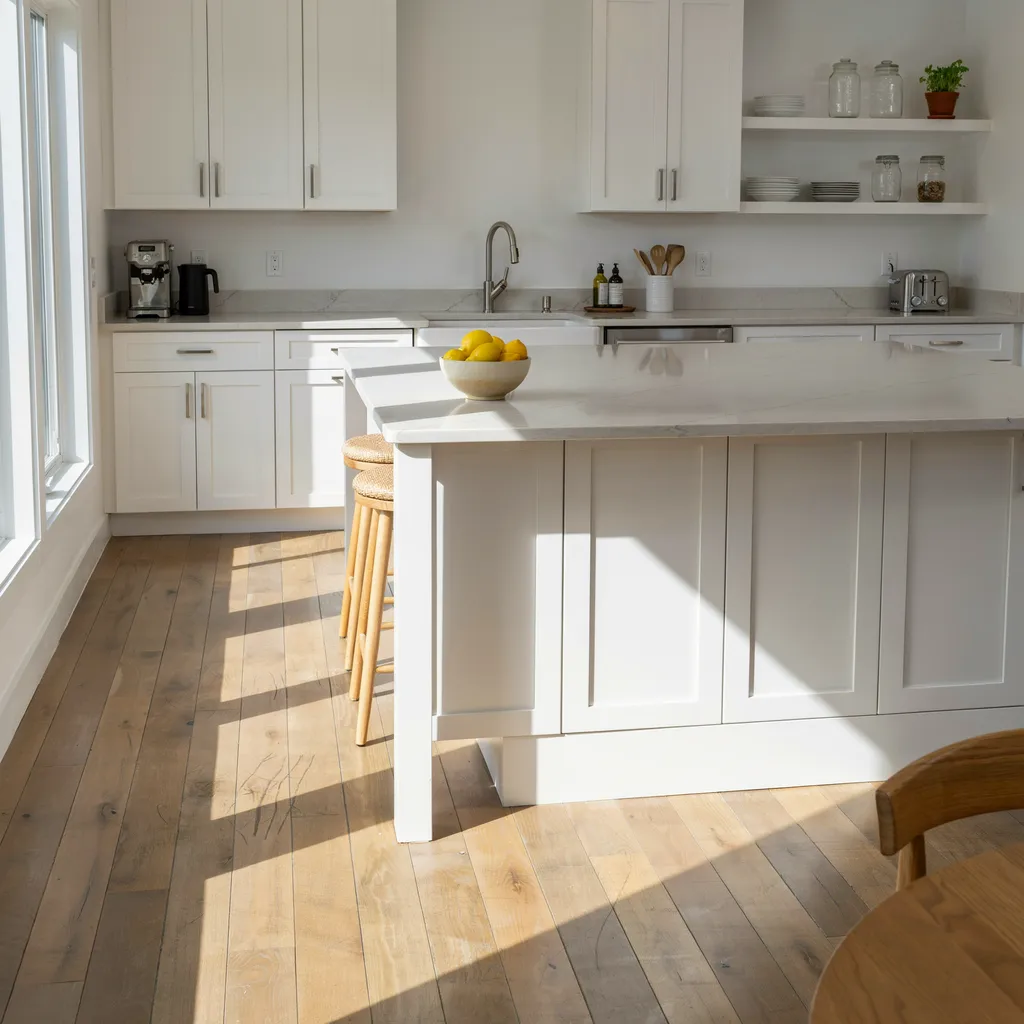
Narrow, glossy strip flooring dates a kitchen quickly, while wide-plank wood — especially in a matte or low-sheen finish — reads as higher-end almost immediately. Planks between 6 and 9 inches wide create fewer visible seams across the floor, which makes the same square footage feel more expansive than it would in 2-inch strips.
Engineered wide-plank flooring runs $4 to $12 per square foot before installation, putting it in realistic mid-range territory rather than luxury-only. Where solid hardwood isn’t practical near moisture exposure, a wide-plank luxury vinyl with a matte finish can approximate the same look for considerably less.
11. A Built-In Coffee or Bar Nook
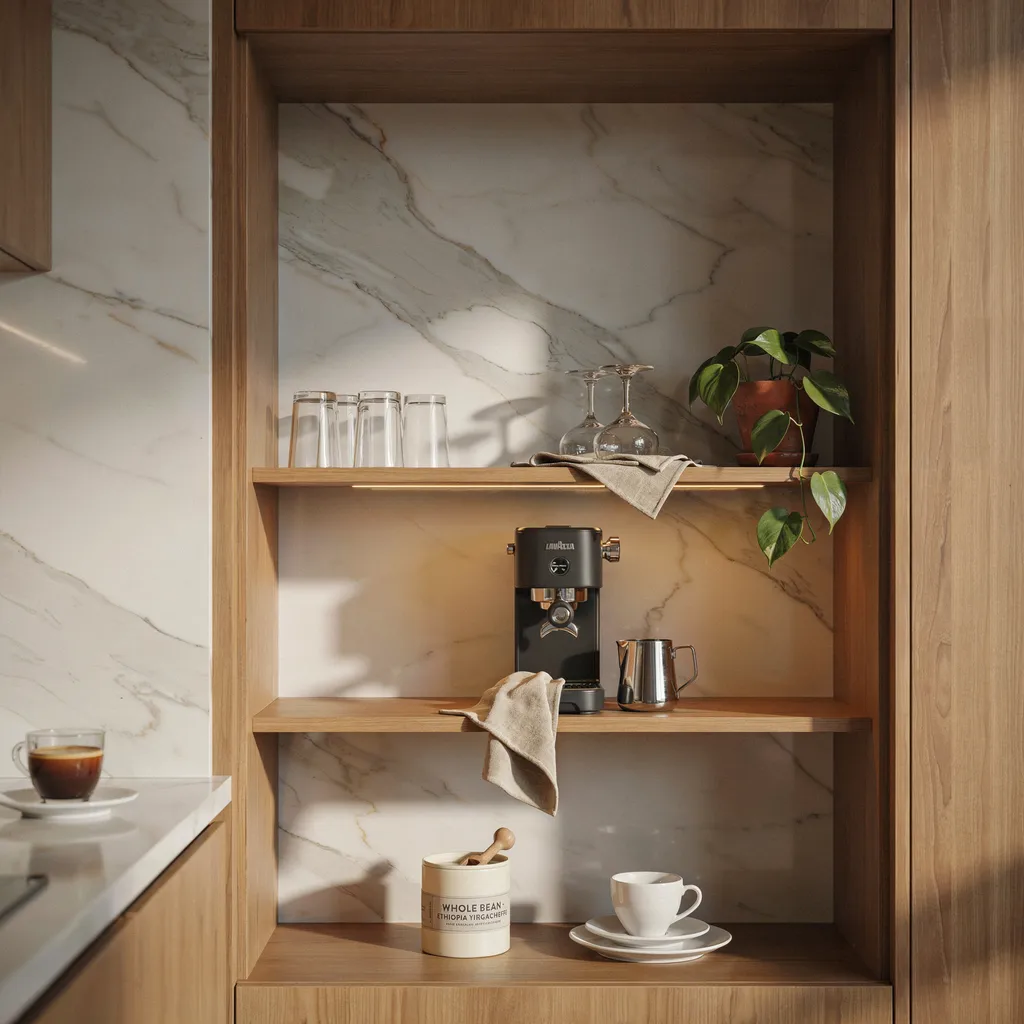
Dedicating even a narrow stretch of counter — as little as 24 inches — to a styled coffee or bar nook gives a kitchen a sense of intentional zoning that larger renovations often aim for. A small backsplash detail, one floating shelf, and a couple of matching glass canisters can turn an unused corner into a feature instead of leftover counter space.
This update can be built almost entirely from existing cabinetry, often costing $100 to $400 for shelving, tile, and styling pieces. Keep the nook’s palette consistent with the rest of the kitchen so it reads as a built-in feature rather than a mismatched afterthought.
If you’re extending the upgrade outdoors too, check out these 12 outdoor kitchen ideas that feel luxurious for more inspiration.
Conclusion:
A kitchen doesn’t need a full gut renovation to feel custom — it needs the right details done well. Across these eleven ideas, the same pattern shows up again and again: a thicker countertop edge, a warmer hardware finish, a wall of unbroken stone all stand in for the bigger, costlier changes most people assume are required.
None of this has to happen in one sweep, either. Start with whatever detail bothers you most every time you walk into the room, since that’s usually where the change will feel most worthwhile. Hardware and lighting tend to deliver the most visible result for the least money, while flooring and countertops ask for more planning but hold up considerably longer.
In most cases, it’s two or three updates working together, rather than a single isolated swap, that push a kitchen from simply nice to genuinely designed. And if you’re tackling this in phases over several months instead of all at once, the only rule that really matters is consistency — one hardware tone, one cabinet palette, carried through from the first change to the last.
Looking for more kitchen styling inspiration? Follow Nestella Home on Pinterest for daily design ideas.
Frequently Asked Questions:
1. What is the cheapest way to make a kitchen look more expensive?
Swapping cabinet hardware and updating lighting fixtures are usually the lowest-cost, highest-impact changes, often achievable for a few hundred dollars total.
2. Do I need to replace cabinets to update an outdated kitchen?
Not necessarily. Repainting the lower cabinets, adding furniture-style island legs, or paneling appliance fronts can refresh a kitchen without full cabinet replacement.
3. Which upgrade gives the best return on a tight budget?
Hardware and lighting changes tend to offer the most visible change relative to cost, typically under $1,000 combined.
4. Are waterfall countertops worth the extra cost?
They add a strong custom look, but if budget is limited, a thicker edge profile on just the island front achieves a similar visual effect for less.
5. How do I keep a staged remodel from looking mismatched?
Pick one hardware finish and one cabinet color palette early on, then apply those same choices to every later phase of the project.